
Alright, y’all. I’ve had a couple of weeks of being sidetracked by other things, like my friend’s three-day visit week before last, and then my birthday this past weekend. And I didn’t get the birthday present I really wanted, which was to have my closet finished to the point of moving my clothes and other items into the room, because that would have required focus on my part, and that was completely absent. But I did get a little bit of work done, so let me show you the progress.
I’m literally just one step away from being able to paint my closet island. I just need to get the drawer fronts and cabinet doors made and installed, and then I can move on to priming and painting. That will be my focus today, but I did get a little bit of a head start yesterday.
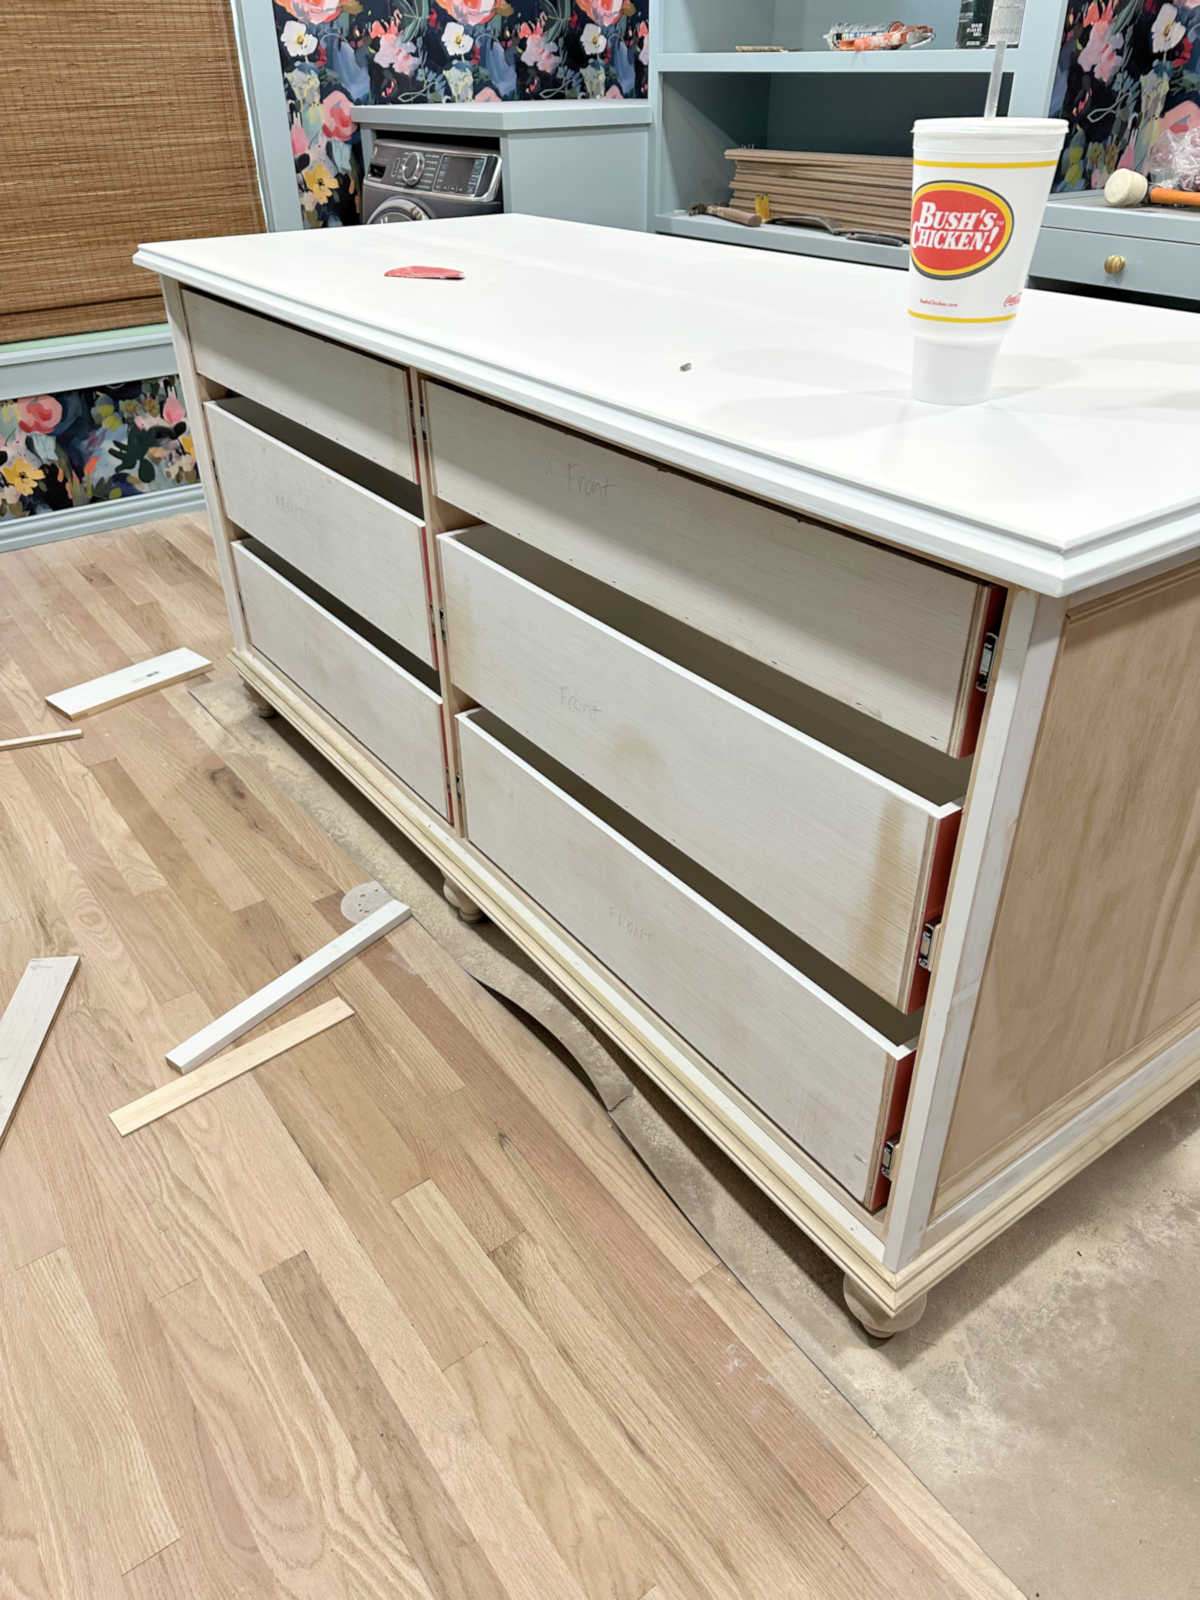
First, you’ll remember that I told you about the struggle I had just getting the drawer boxes installed because…well…math is hard. 😀 Some of these drawers were installed, removed, and reinstalled three times. Others I had to do twice. I don’t think I got any of them in the right position on the first try. But here’s what this side of the island looked like once I finally got the drawer boxes installed.

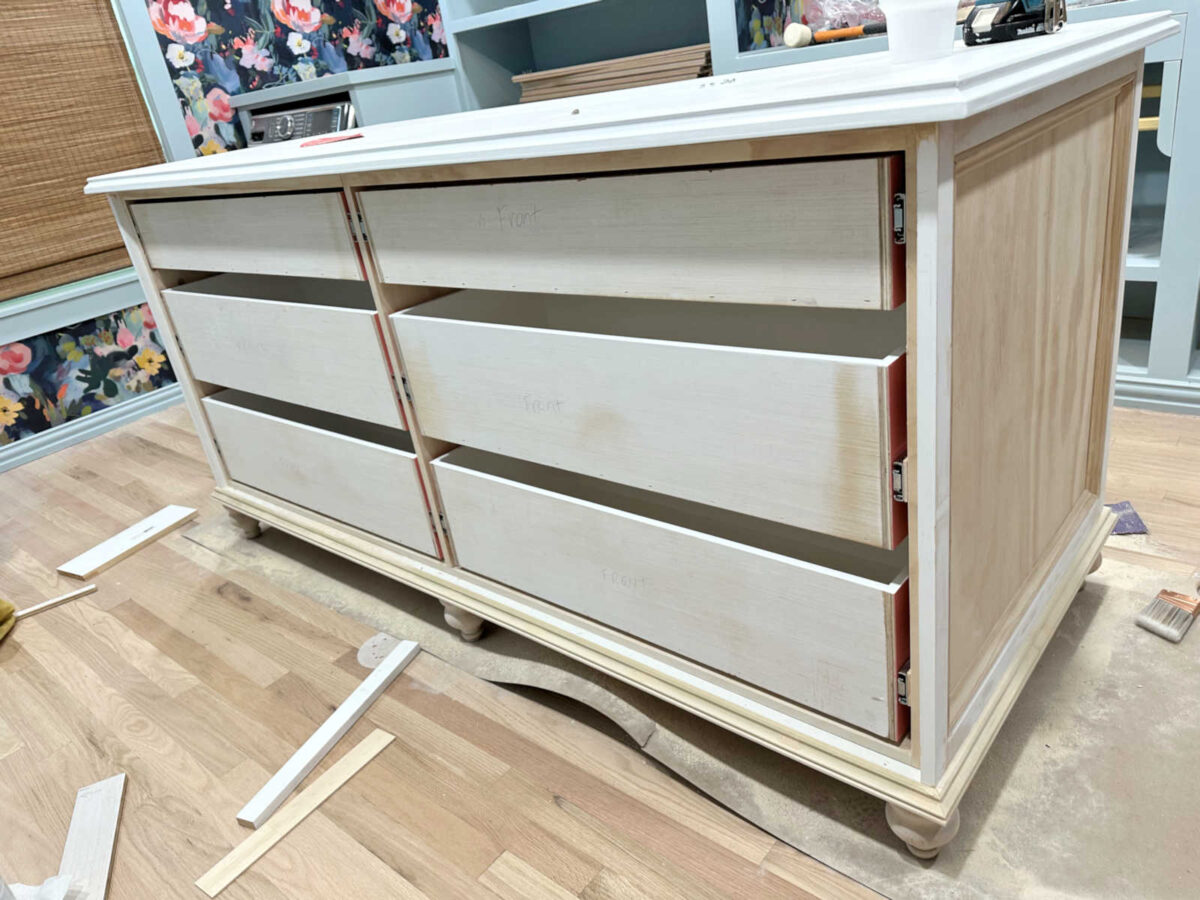
And then here’s the other side, which will have drawers on the left and cabinet doors on the right.

Until yesterday, when I started actually working on the drawer fronts, I was still undecided on how I would make them. But I finally made my decision at the very last minute. I had planned on trimming out each drawer front and cabinet door separately, with trim going completely around each individual one. But at the last minute, I changed my mind. Instead, I decided to trim out each section as a whole unit. So I started by cutting 1/2-inch plywood for each drawer front…
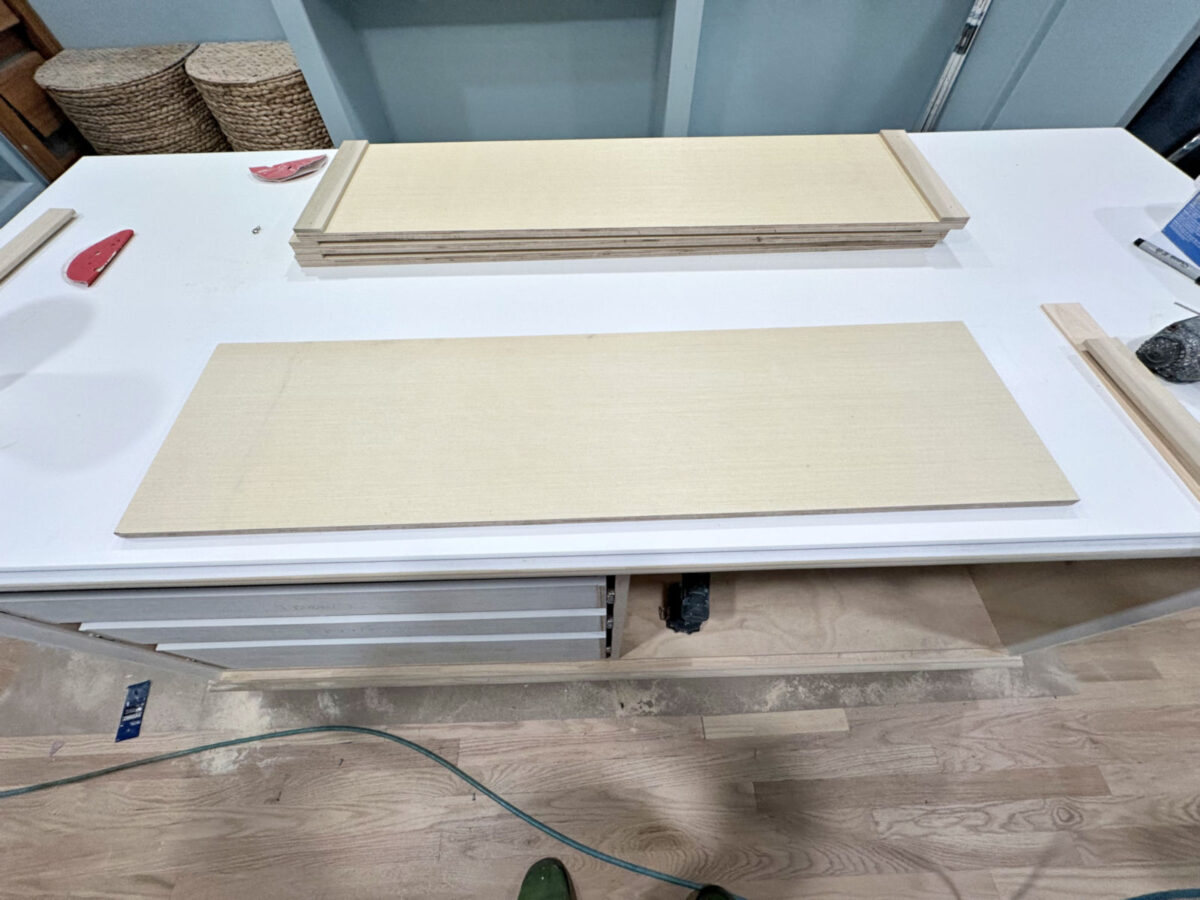
And then I used 1/4-inch x 1.5-inch strips attached to each side of the drawer front…
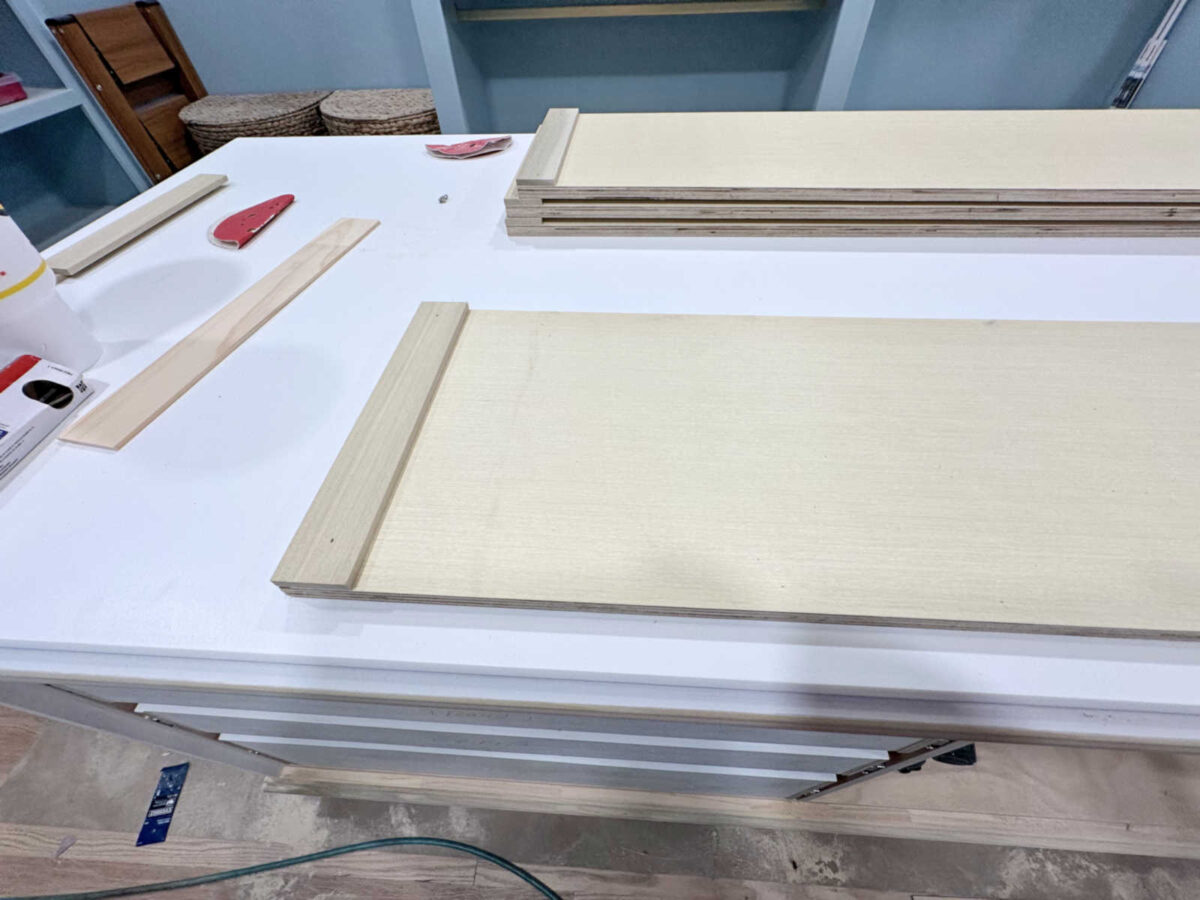
After those were attached, each one looked like this…
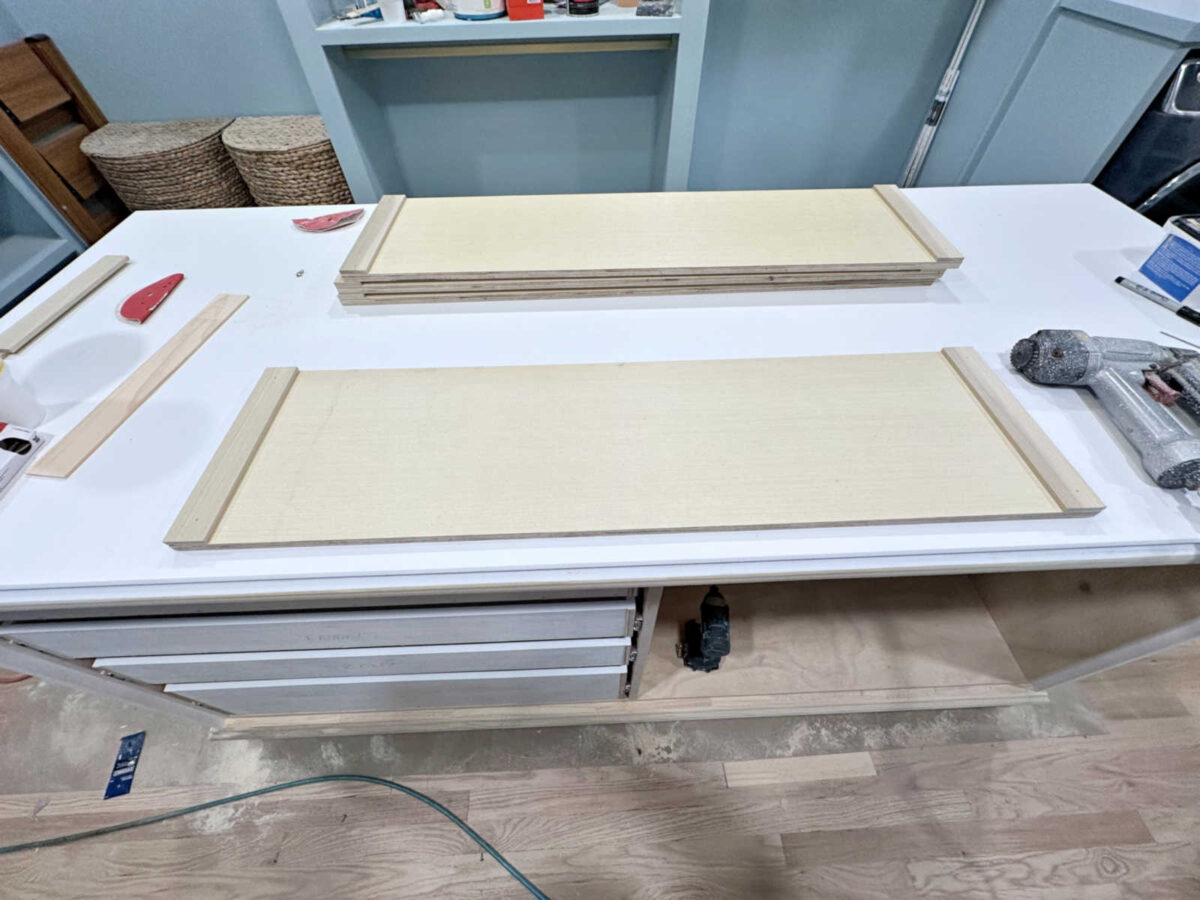
And then for the bottom drawer for each section, I attached a strip along the bottom of the bottom drawer front. And in the same way, I attached a strip along the top of each top drawer front for each section. The drawers in the middle will only have trim on the sides, so that once they’re all on, each entire section will be trimmed out as one cohesive section.
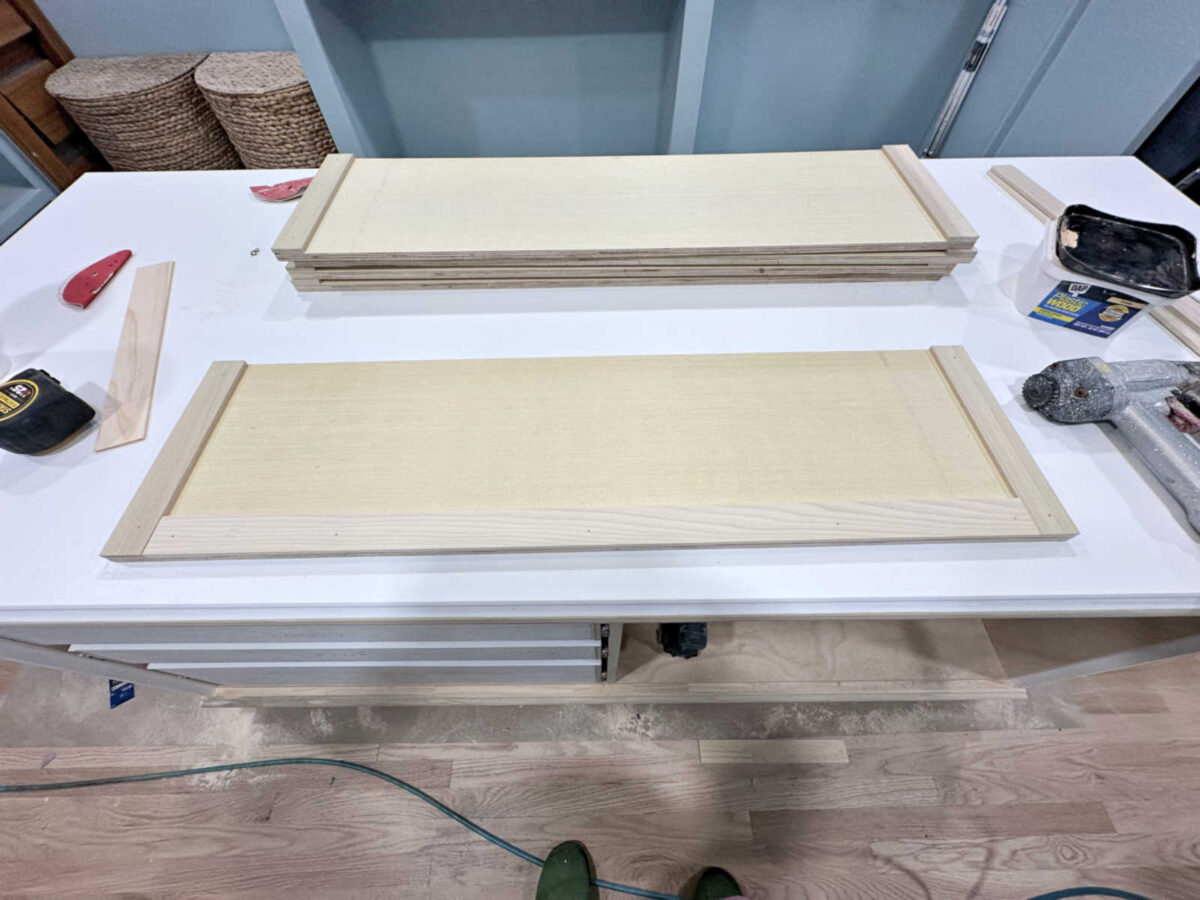
I’ll use edge iron-on veneer edge banding on the edges of each drawer front and cabinet door so that the edges of the plywood and trim won’t show. I only got one done so far, so I have quite a bit more edge banding to attach, trim, and sand today.
And while I didn’t get any of the drawer fronts actually attached, here’s one of the bottom drawer fronts set in place.

The edge banding is the most time-consuming part of this process, but once I get all of these edge banded and attached to the drawer boxes, I’ll finally be ready to prime and paint!
But as I mentioned, this weekend was my birthday. I’m generally not a birthday present kind of person, but this year was different. Now that I’m about to have a big walk-in closet with lots of room, the only thing I wanted was a few new handbags. 😀 I bought myself two (yes, I bought myself birthday gifts, because why not?) And then Matt bought me two. Unfortunately, one of them didn’t get here in time, so I’ll show you that one separately.
My favorite brands of handbags are Kate Spade, Michael Kors, Coach, and a relatively recent discovery, Betsey Johnson. Three of the four are represented in my birthday gifts. Here they are…
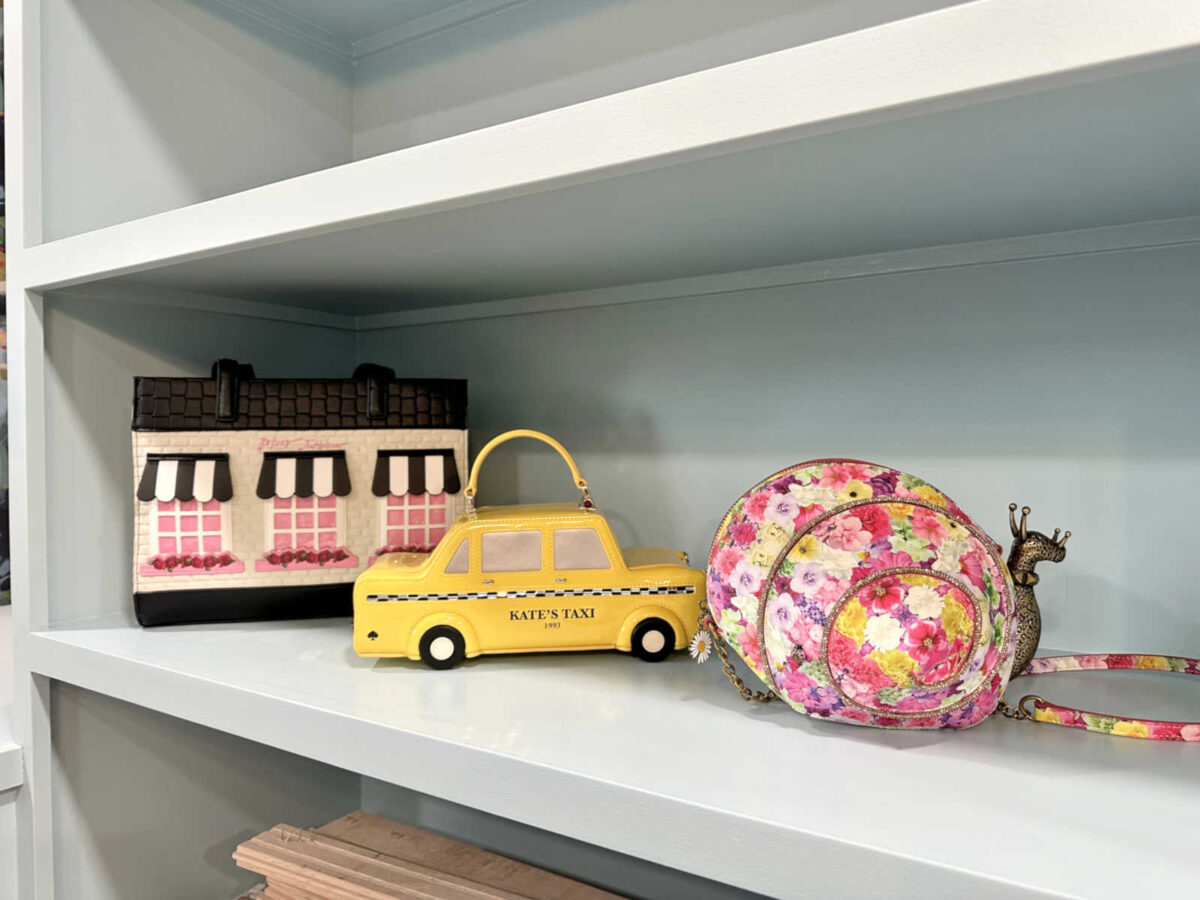
Yes, the very same concept that I push all the time with making your house your own is the very same concept I use when it comes to how you express yourself in your wardrobe selections. And let me tell you, there are few things that make me smile more than unique, fun, colorful handbags (except maybe unique, fun, colorful shoes). I mean, if there’s one place where you should be able to express your personality, it’s your wardrobe!
And then when Matt asked me what I wanted, I knew exactly. I’ve had my eye on this Kate Spade taxi handbag for months now. It was a no brainer for me.

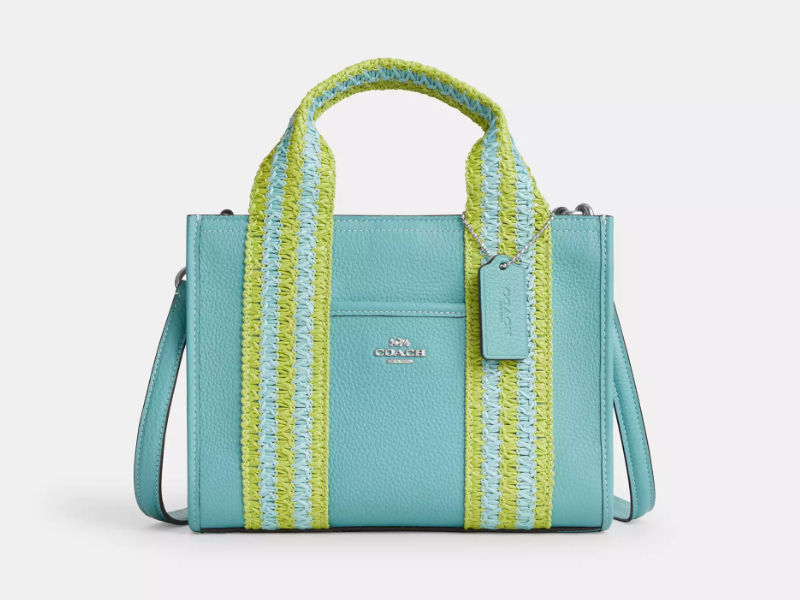
But don’t worry. I did get one “normal” handbag. I also got this Coach handbag in these fun colors. This is the one that didn’t get here in time.
So my birthday this year was a handbag fest, and now I’m even more excited and anxious to get my closet to a point where I can bring in all of my clothes, handbags, and shoes, and get everything organized. Once I get that island to the painting stage (and know for sure that I’m through with all of the sanding stage), I can finally get all of the dust cleaned up and bring everything in.
More About My Walk-In Closet/Laundry Room

see all walk-in
closet diy projects

read all walk-in
closet blog posts

Addicted 2 Decorating is where I share my DIY and decorating journey as I remodel and decorate the 1948 fixer upper that my husband, Matt, and I bought in 2013. Matt has M.S. and is unable to do physical work, so I do the majority of the work on the house by myself. You can learn more about me here.