I have officially crossed off the first project from my 2025 list of home goals. My workshop has shutters! First, let me remind you how this workshop looked right after we had it built…
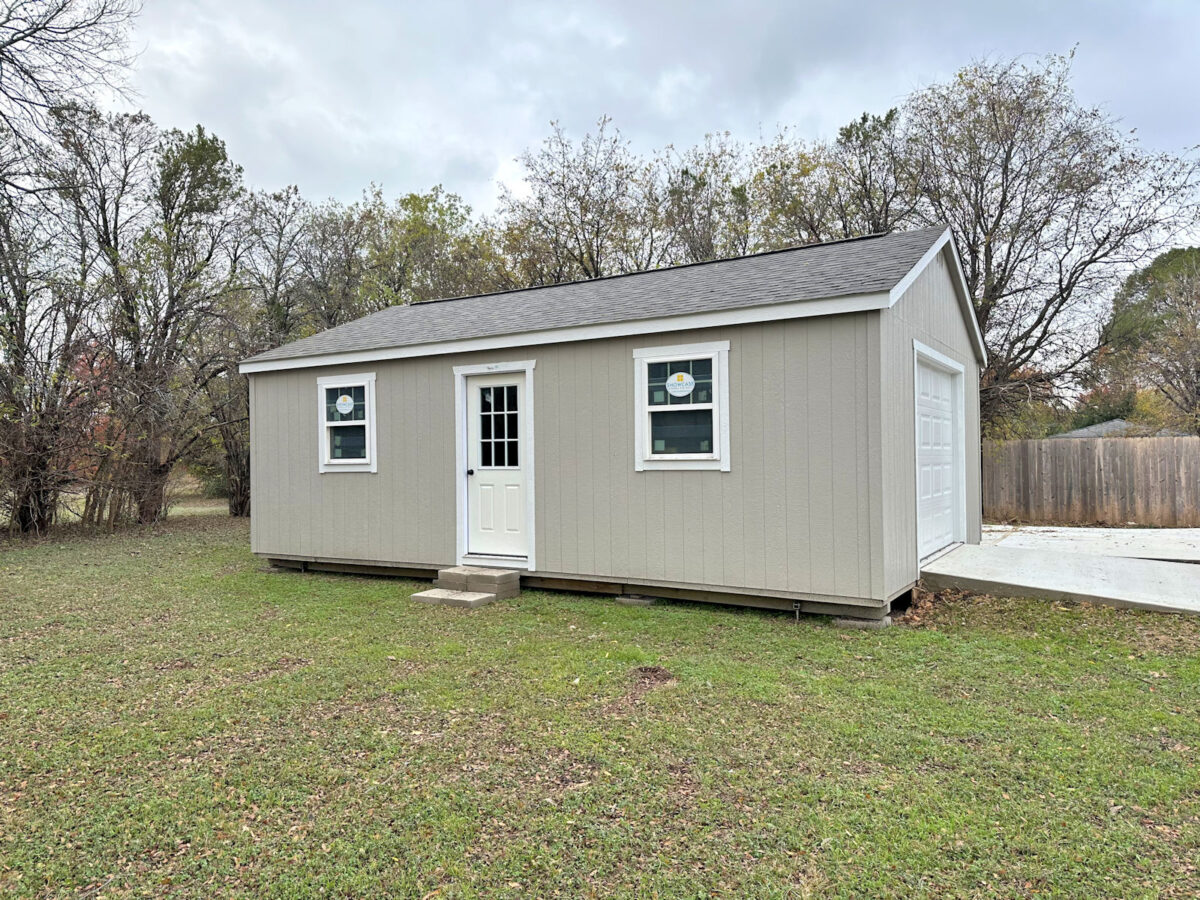


It was a very plain building with tons of potential. And of course, my goal is to turn this from a plain, drab little building into something that looks like a cute little cottage in our back yard. The first step towards that goal was to add shutters to the building.
I could have purchased shutters from the company that built the workshop for me, but I didn’t like the shutters that they offered. First, their shutters were way too skimpy for my liking — very narrow shutters that didn’t fit the proportions of the windows. They would have looked like this…


Those would have looked way too tiny on my much larger workshop. But also, I want my workshop to look like an extension of our house, and because I built the shutters on our house, I needed to build these to match. And because I built them myself, I could make them the correct proportions for my windows.
I didn’t take pictures of the steps I took to make, install, and accessorize these shutters because I’ve already covered all of those steps the first time I made them for our house. But I did made these exactly like the ones for our house. They’re made out of PVC boards (which I purchase at Lowe’s) so they’ll never rot. I painted them Benjamin Moore Gentleman’s Gray, which I had color matched at Sherwin Williams so that I could use their formula that’s safe for vinyl siding, which is necessary since it’s such a dark color, and dark colors that aren’t vinyl safe can warp in sun and hot weather. (To make it vinyl safe, they basically remove any black from the formula and replace it with blue.) And for the decorative touches, I used these T-strap hinges (I used the 8-inch on these shutters), these cast iron shutter dogs, and these cast iron ring pulls (all affiliate links).
This was a four-day project. It took me one day to build the shutters, one day to paint them, one day to install them, and one day to put the finishing touches (decorative hinges, pulls, and shutter dogs) on them. And here’s how they turned out…
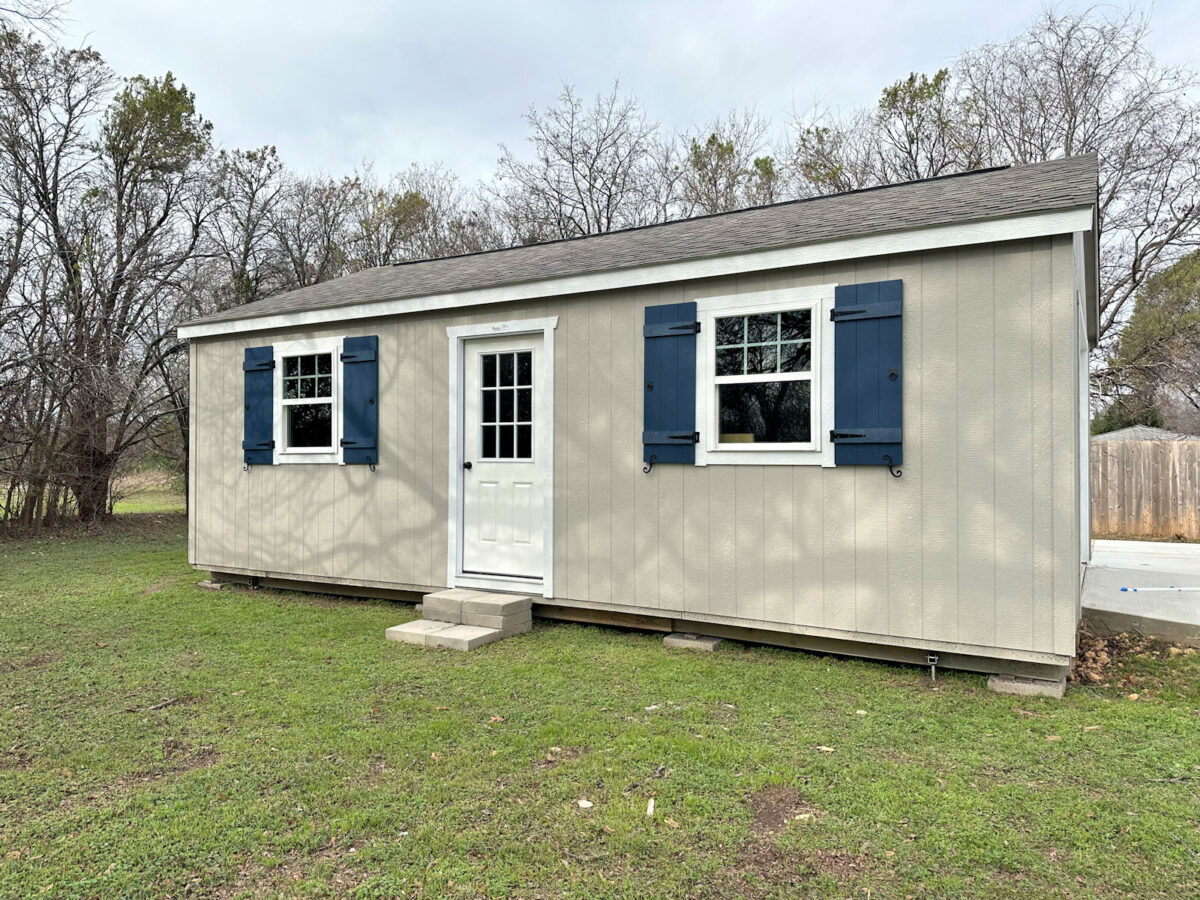

I love how they turned out! This is only the first project I have planned for the exterior of this building, and already it’s such a huge difference.


And here’s a look at the back of the building. I put shutters on all four windows because they’re all very visible. In fact, the back of the building is what I see the most since it’s visible from the street and from the driveway every time I pull into the carport. So the back of the building needs to look just as cute as the front.


While I didn’t take pictures of the DIY process this time, I did do videos of the whole process. So that video is coming for those of you who prefer video tutorials over written tutorials. One of my main goals this year is to focus on doing a whole lot of video tutorials for my projects. But I’ll still have written tutorials with lots of photos for new projects as well.


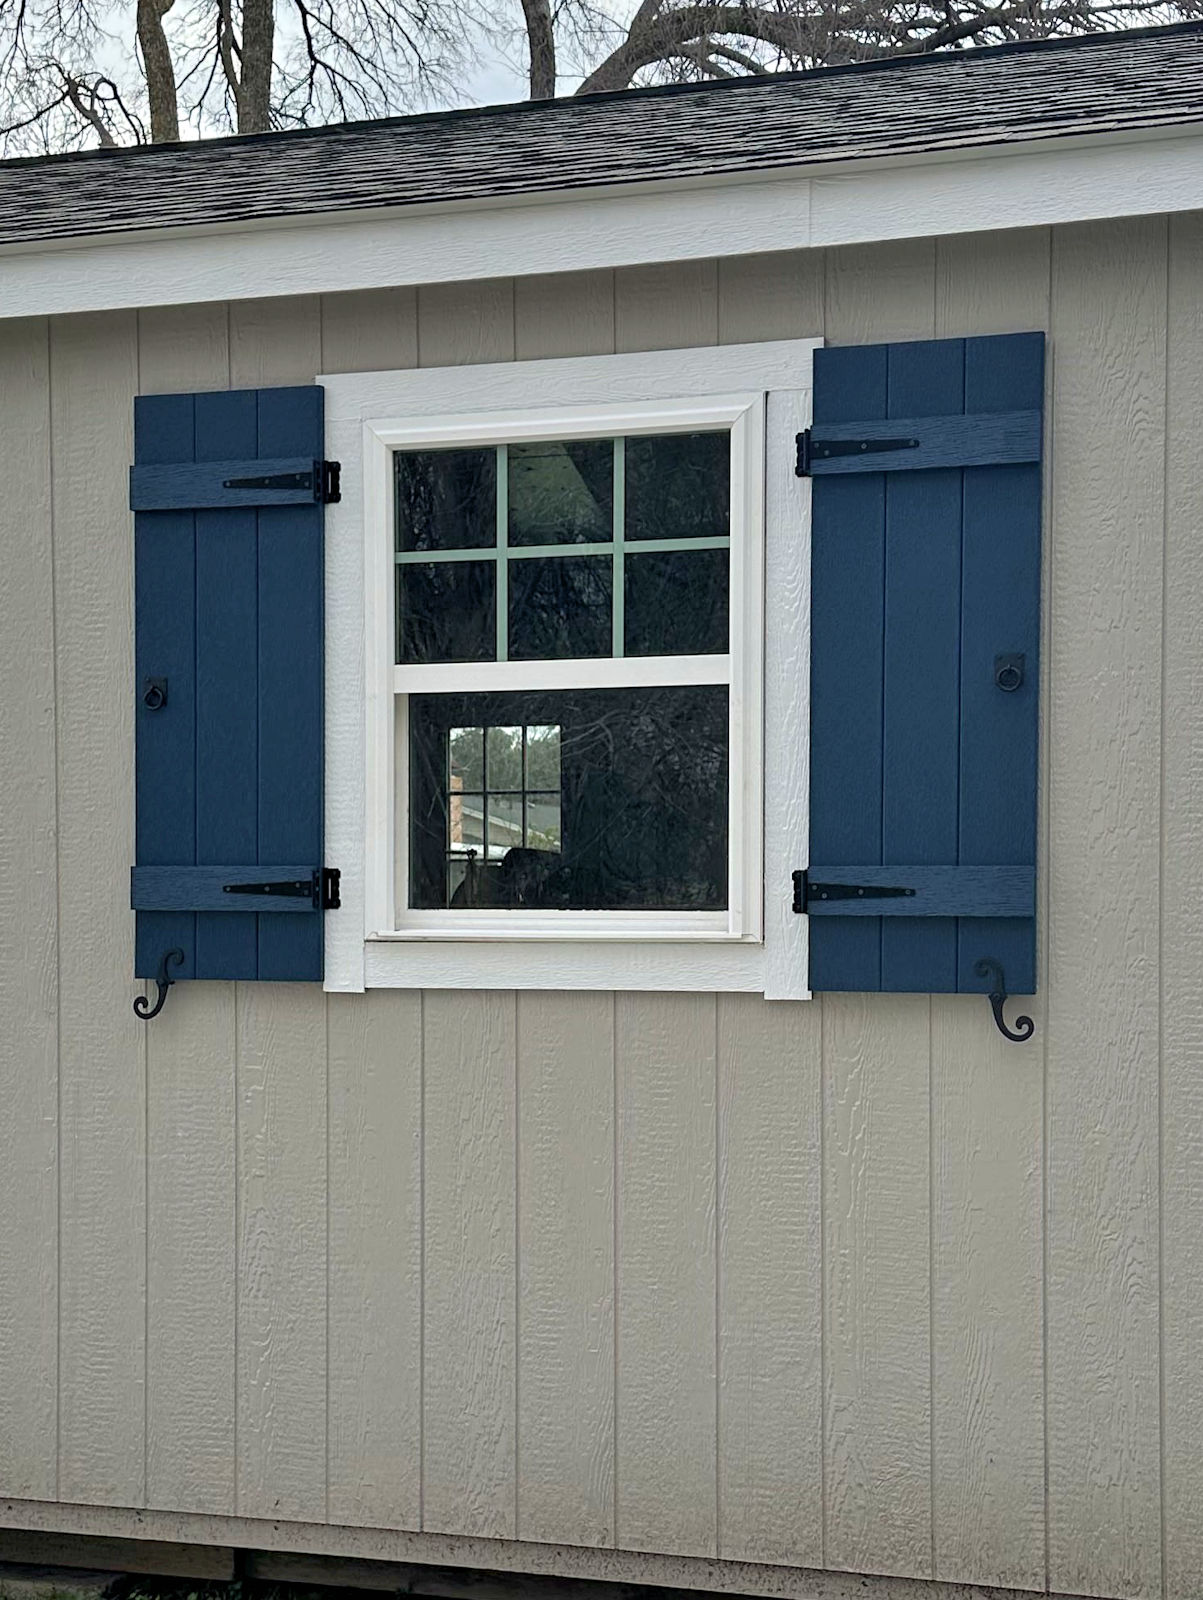
Here’s a close-up view so you can see the details of the finished shutters. The front hinges are only decorative, as are the shutter dogs. The shutters dogs are literally glued onto the shutters, so they don’t actually turn. But I love how those little details really elevate the look of shutters that would otherwise be pretty plain.


So project #1 for the year is marked off of the list!


And even though the weather has turned cold on us, I’m determined to get a few more projects done on this building before I turn my attention to the bedroom suite. It may be cold, but the sun is still shining (for now), so I plan to take advantage of that while it lasts.


Addicted 2 Decorating is where I share my DIY and decorating journey as I remodel and decorate the 1948 fixer upper that my husband, Matt, and I bought in 2013. Matt has M.S. and is unable to do physical work, so I do the majority of the work on the house by myself. You can learn more about me here.


