Some days I feel like I’m absolutely unstoppable when it comes to making progress on projects. Other days, it’s all I can do to get a front door painted and switch out a door knob. But when a painted front door makes such a huge difference, even that small task can be pretty exciting! Plus, I’ve marked off two more items from my 2025 list of home goals, and that alone is pretty motivating for me. Sometimes it pays to get those small tasks done just so that you can mark those off your list. That feeling of accomplishment in seeing those projects being checked off of the list is often so motivating for tackling the bigger projects.
For my workshop, I chose the same color for the front door that I’ve used on the doors of our house — Benjamin Moore Bird of Paradise. But this time, I had it color matched at Sherwin Williams since that’s where I went to purchase the paint for the shutters that I made for the workshop. The color match was perfect, and this color makes me smile every time I see it.
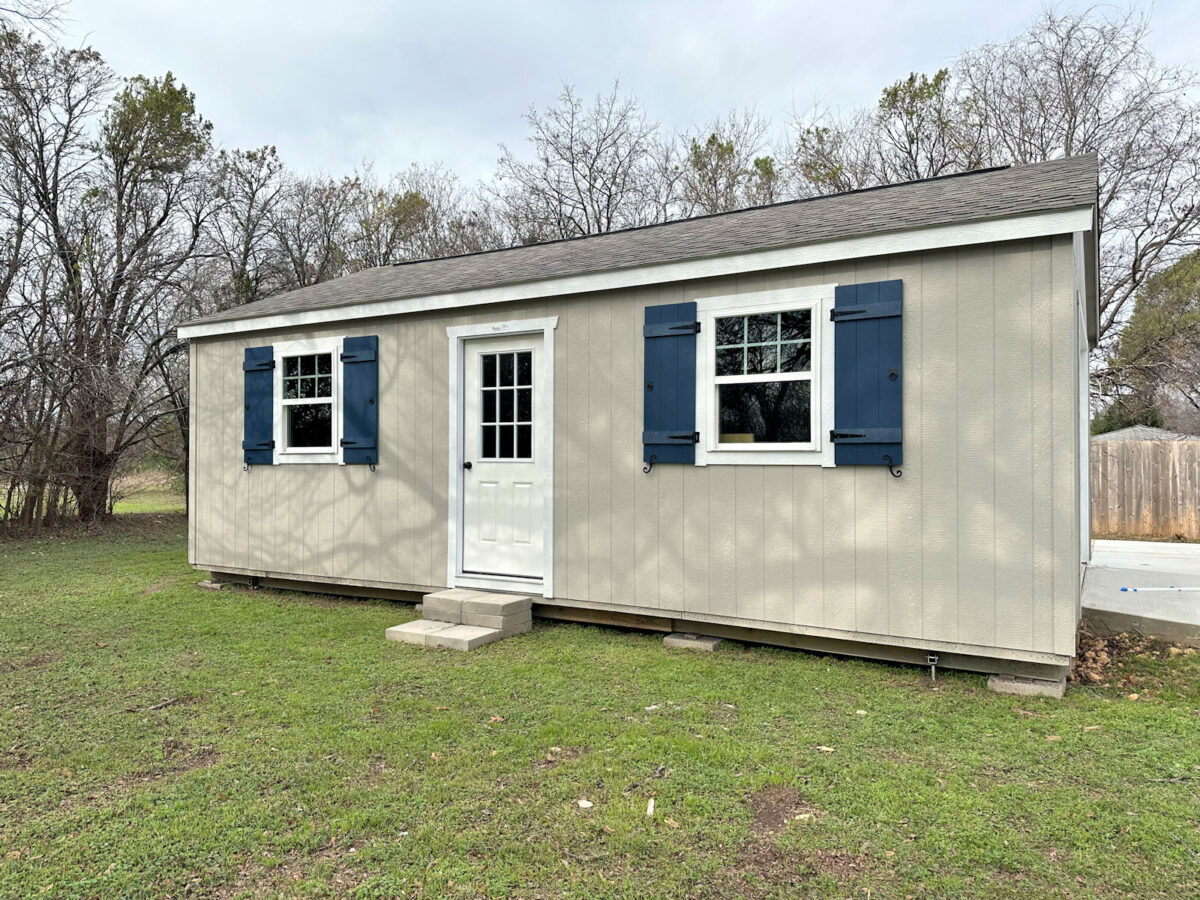
Let me remind you what the workshop looked like with the new shutters and a plain white front door…


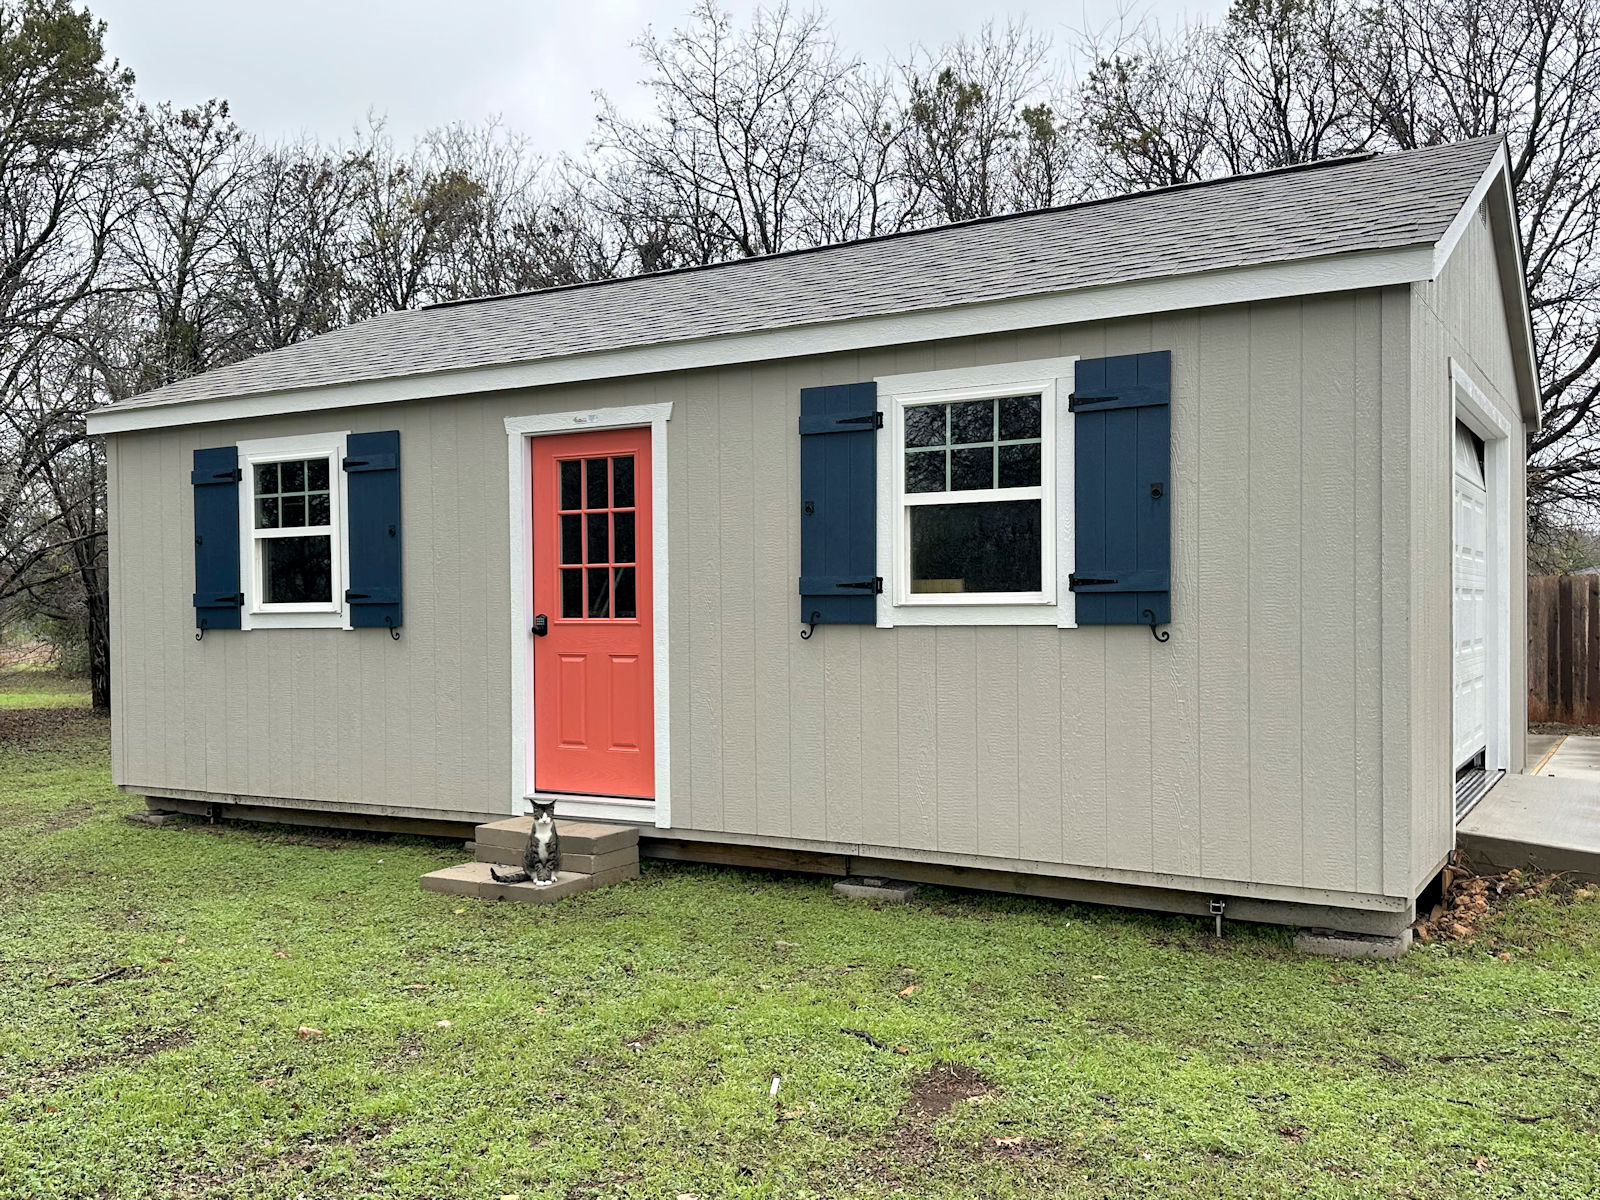
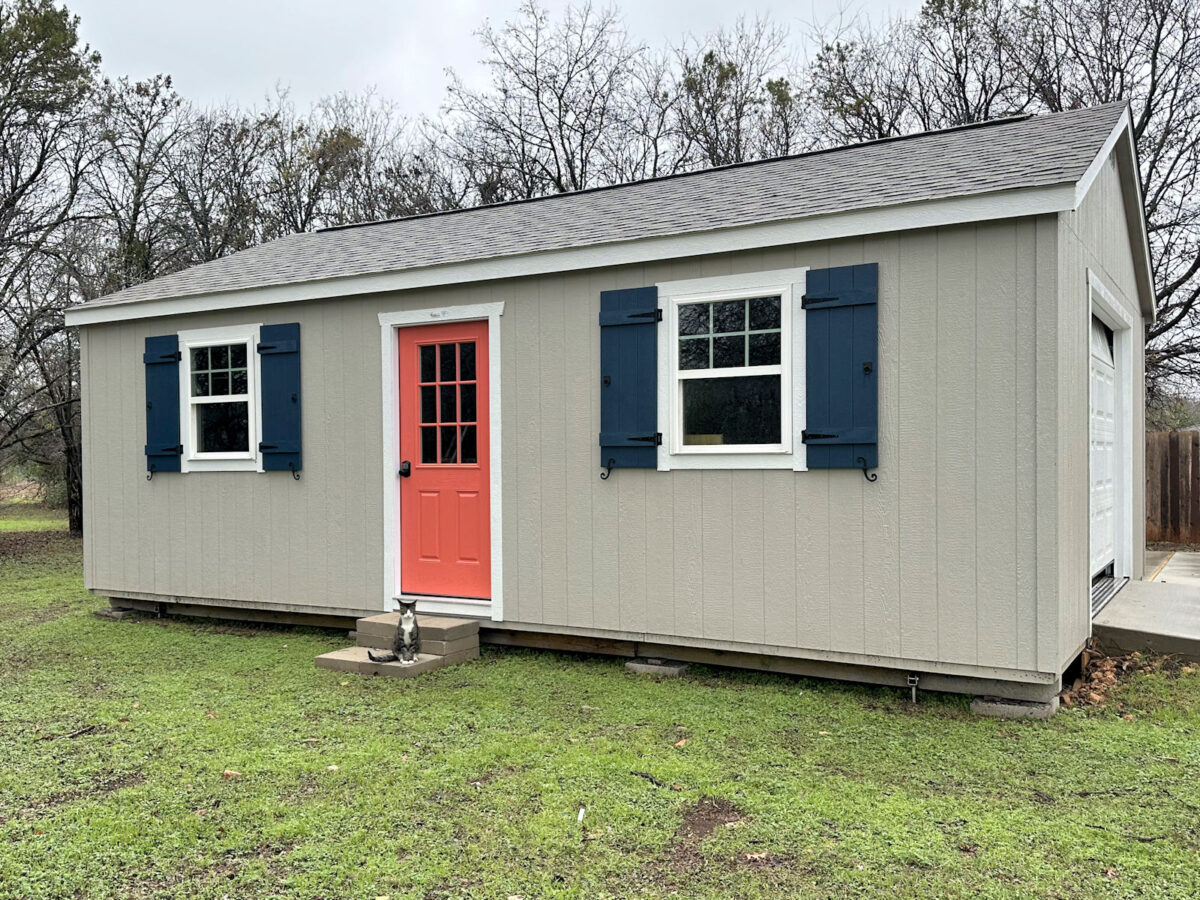
And here it is with the blue shutters and the new coral front door…


And how kind of the sweet little stray kitty to pose for me, right? 😀 He loves hanging around when I’m working outside.
This color is really saturated, and as is often the case with really saturated colors (especially anything that is red or red-adjacent), it took three coats to cover everything. After the first coat, it was looking pretty streaky.


Two coats covered pretty well on most of the door, but there were still streaky areas around the windows, so I went ahead and did a third coat. Three coats covered perfectly, and it didn’t take long at all. The first coat took about 15 minutes, and the two subsequent coats only took about 10 minutes each.


I opted to tape off the windows instead of using the paint-on window mask that you peel off after painting (which is what I used when I painted the French doors at the back of the studio). Since I wanted to do this quickly, taping actually went much faster, and I didn’t have to wait the hour (or sometimes longer) for the paint-on mask to dry before painting the door. Taping the windows off only took about 15 minutes, and then I could get right to painting.
The key to quick taping of windows is to put the tape straight across (which you can see at the top left of the photo below), and then go back with a razor blade and cut the tape at an angle to remove the excess tape. That gives you perfect corners every time.


Here’s another look at what the door looked like after just one coat. You can see how streaky it looks even from a distance. It wasn’t pretty. 😀


I wanted to put a keypad lock on the door so I can access the workshop any time rather than having to go into my studio and get the keys every time I wanted access to the workshop, and since this door only has one doorknob and no deadbolt, the options were pretty slim. Most keypad locks are for deadbolts and not doorknobs. So I ended up going with this Honeywell digital door knob that I found at Lowe’s. It’s nothing fancy. It doesn’t have wifi capabilities, so there’s no app that controls it. It’s just a simple touch pad lock, which is what I wanted for the workshop.


It was incredibly simple to install (it took about five minutes), and so far, I love it! Programming a new access code took another five minutes. The instructions were very clear and straightforward.
So that’s two more projects crossed off!


I’m glad that I had a couple of easy projects that I could do and check off the list because the next project — adding skirting around the bottom of the workshop — is not a quick and easy project. But that’s the project that will take this workshop to the next level.
Addicted 2 Decorating is where I share my DIY and decorating journey as I remodel and decorate the 1948 fixer upper that my husband, Matt, and I bought in 2013. Matt has M.S. and is unable to do physical work, so I do the majority of the work on the house by myself. You can learn more about me here.


