
I’m still working on this closet chandelier project, and I’m very excited about how it’s going. Yesterday, I shared that I had some problems making the flowers because the clay I chose to you use stuck to everything it touched. It was impossible to roll out that clay and mold it or cut anything from it.
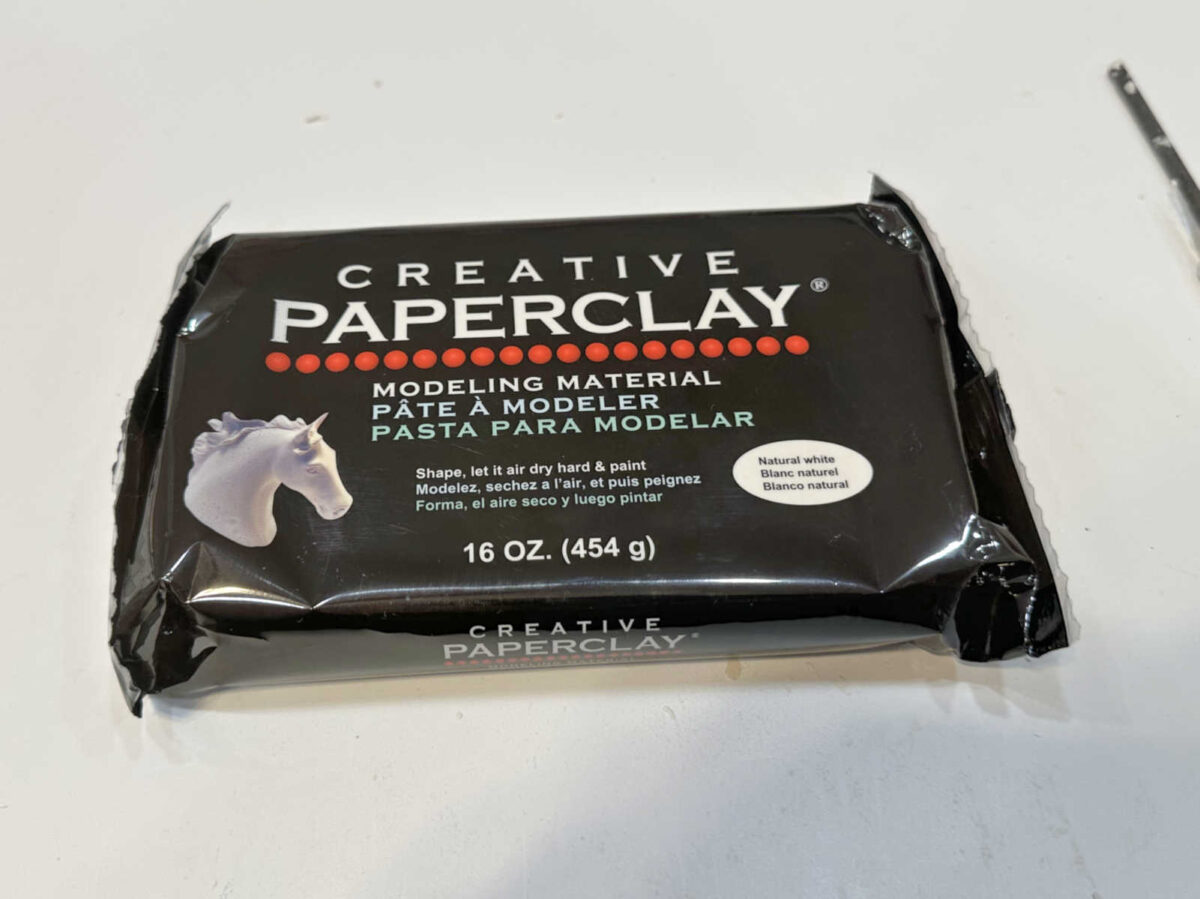
So I returned that clay and got this one. And this stuff is amazing!!
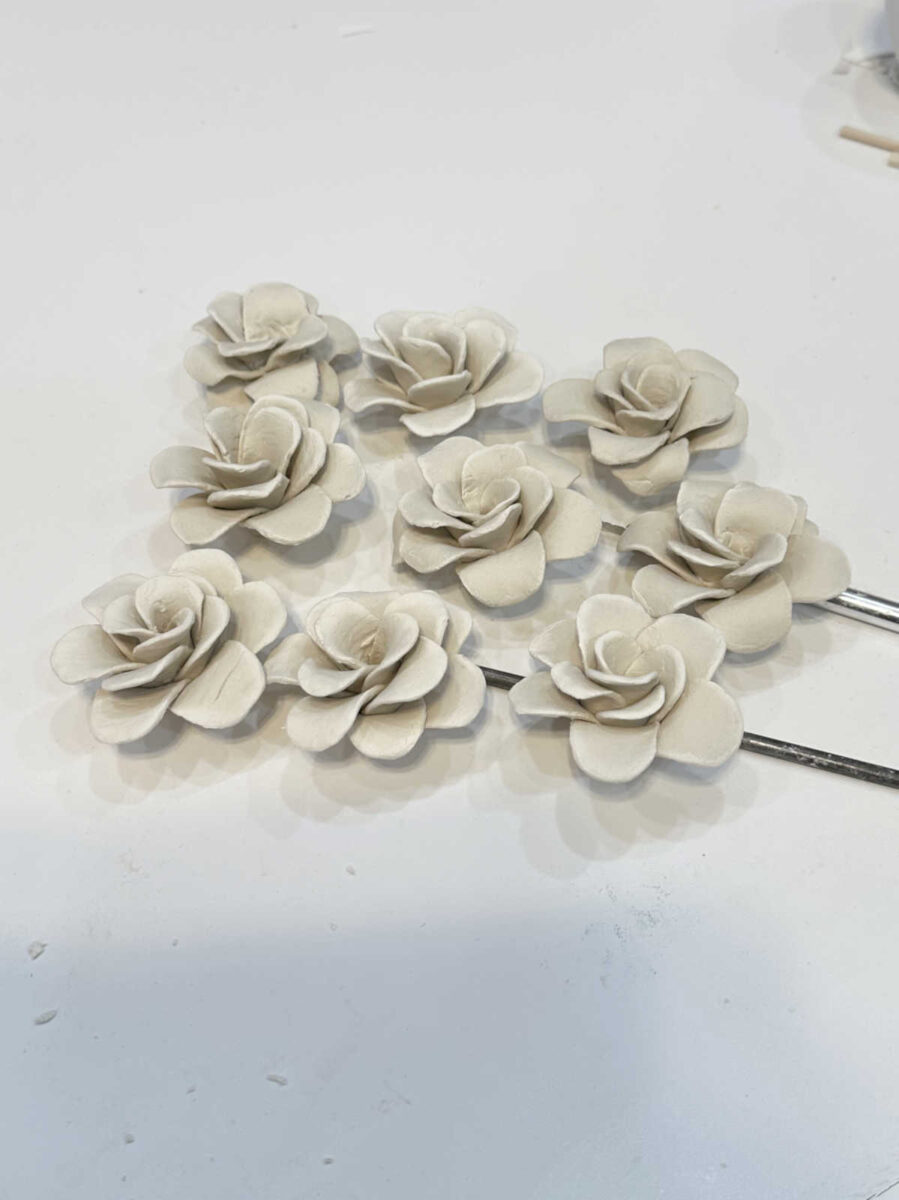
It took me a while to get my flower making technique down. I made a whole lot of flowers before I came up with the right size pattern for the petals, the right number of petals, the right overlap of the petals, etc. So by the time I went to bed last night, I only had nine of the 38 flowers that I need for the chandelier.
But at least it was a fun and relaxing day getting to play with clay. 😀 And now that I finally have a system and formula down, I’m hoping the rest will go much faster.
I’ll show you how I made the flowers, and then give you a peek at one of the flowers on the chandelier form.
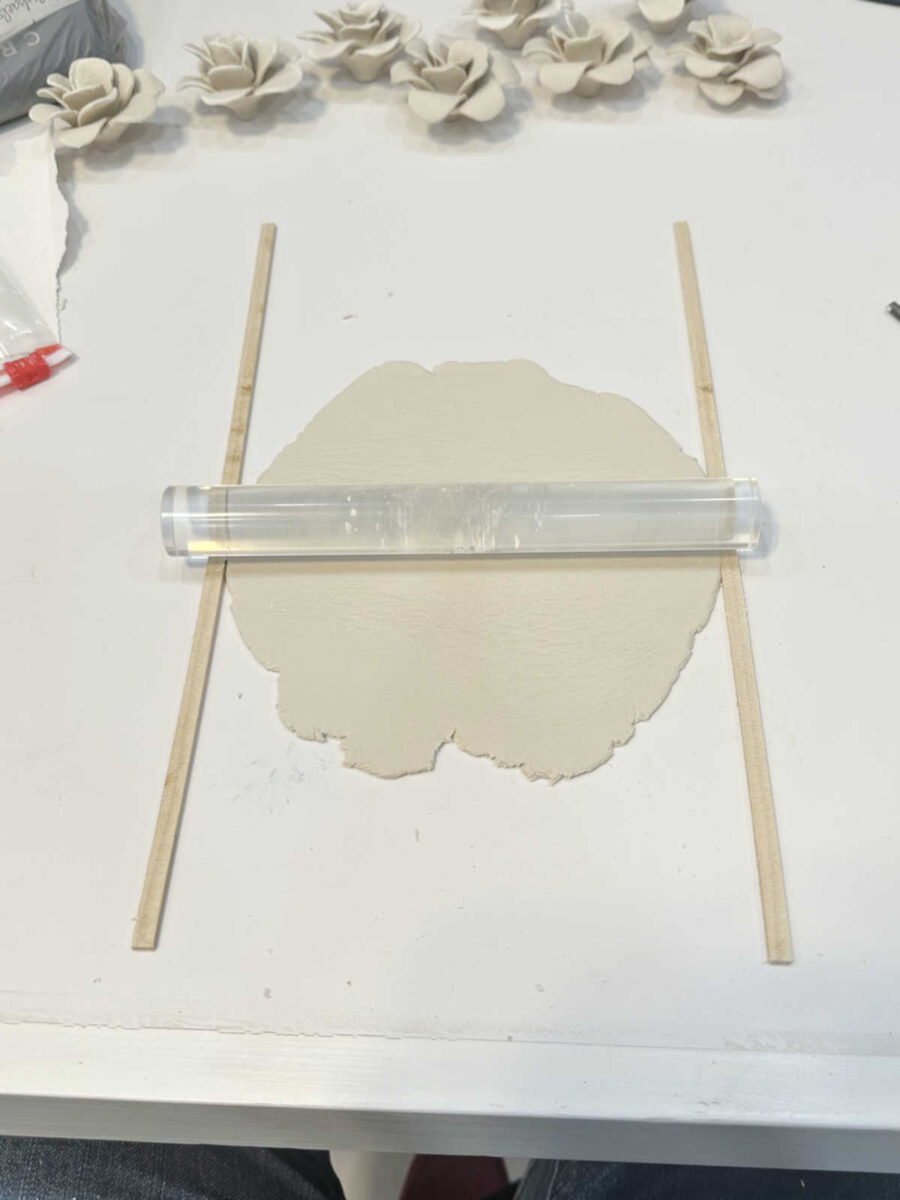
To roll out the clay uniformly from one flower to the next, I cut some scrap strips of 1/4″ wood to 1/8″ thick and used those as guides to roll out the clay.
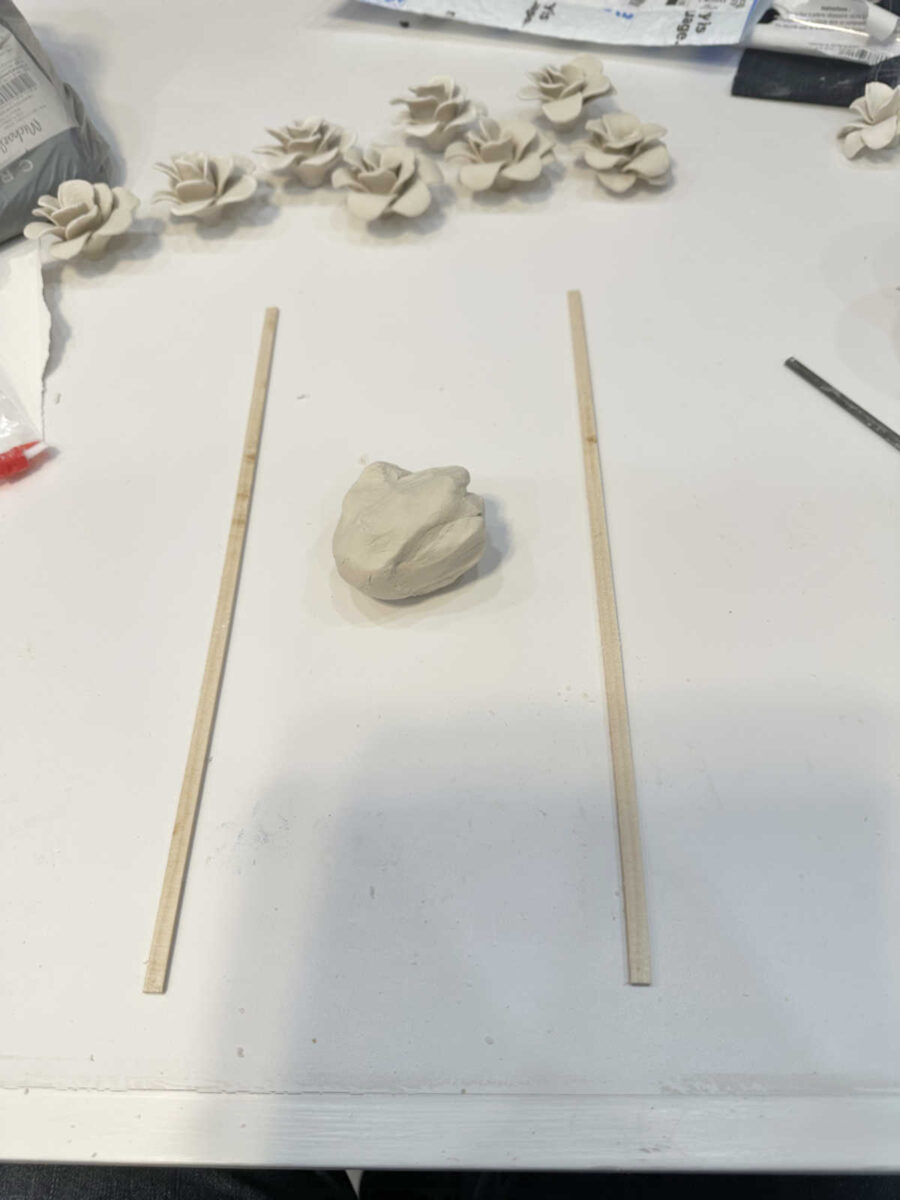
I bought this little acrylic roller to roll the clay, and it rested on the guides to make it uniform in thickness.
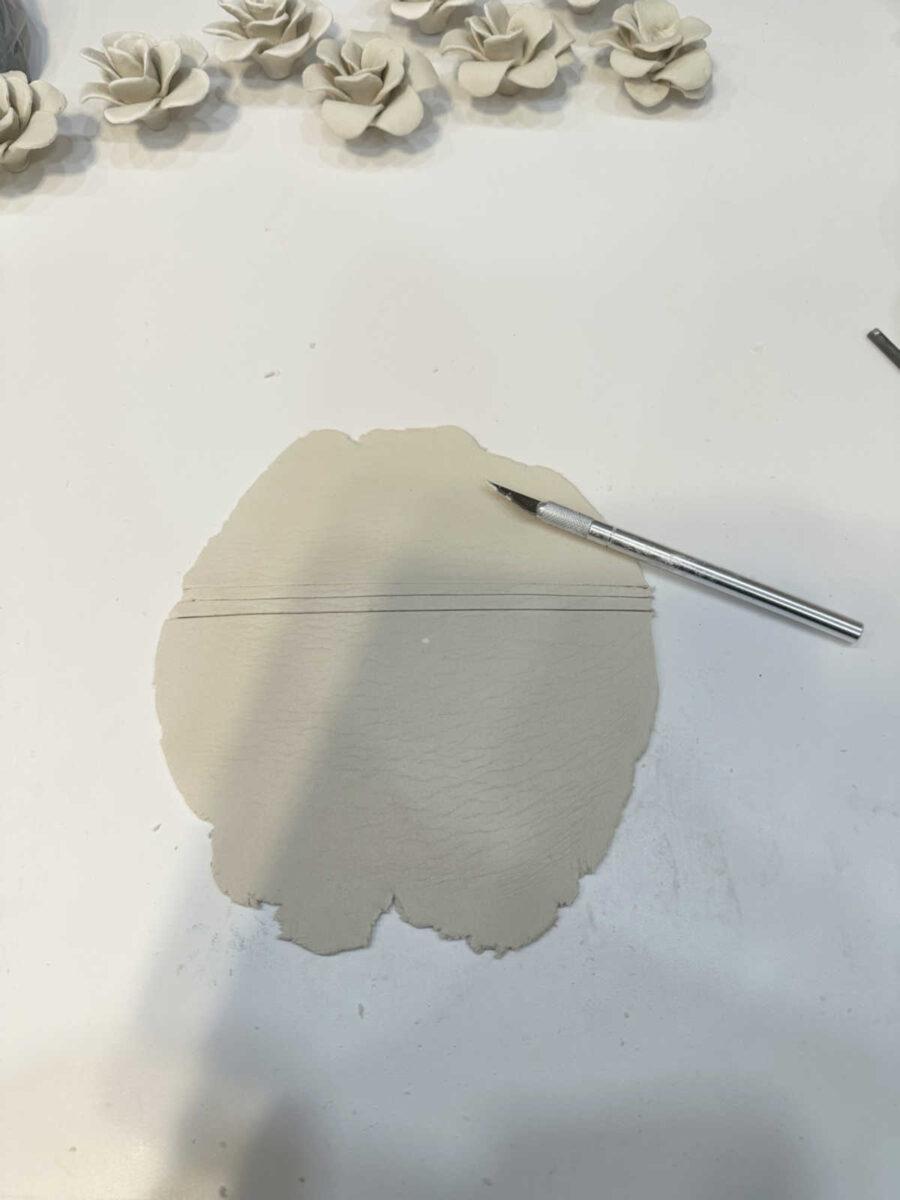
Then I used my X-acto knife and cut two thin strips out of the middle and set those strips aside.
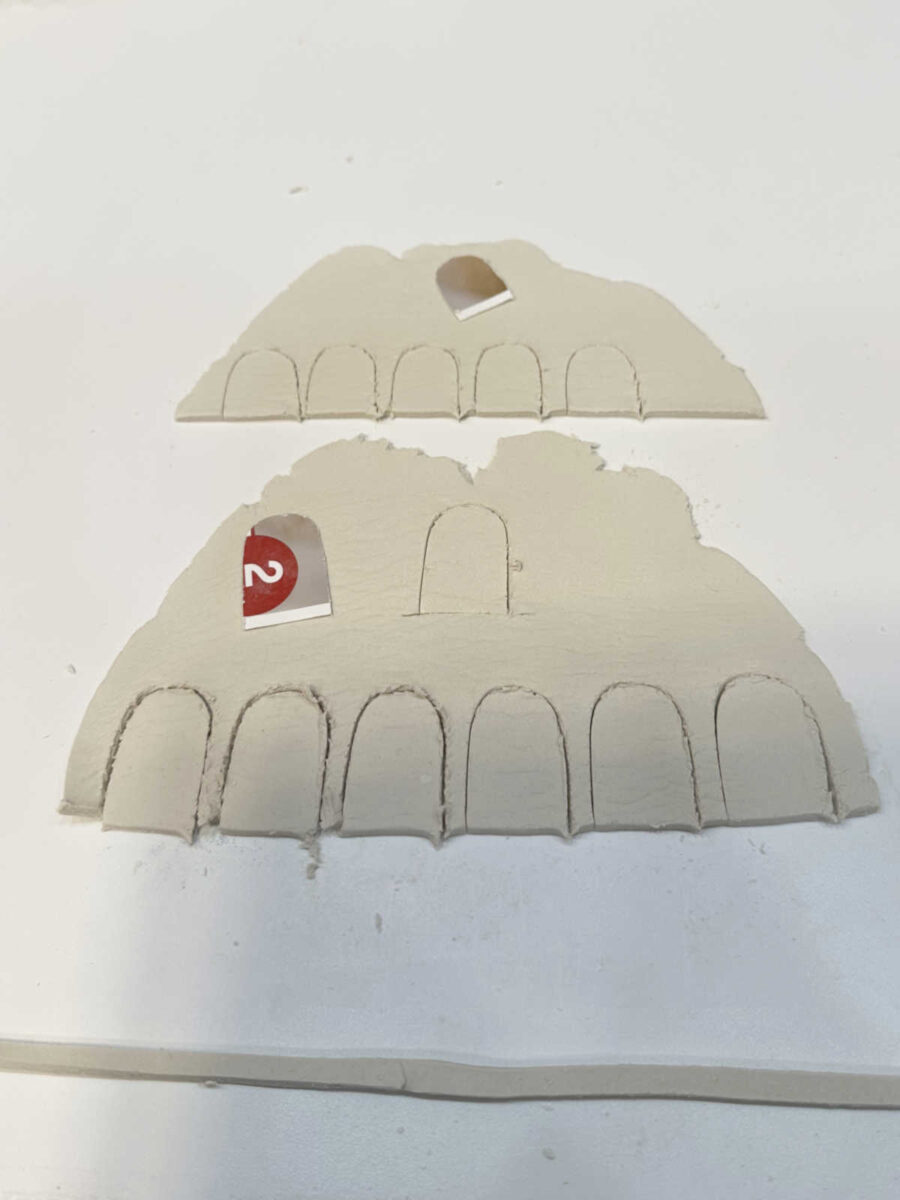
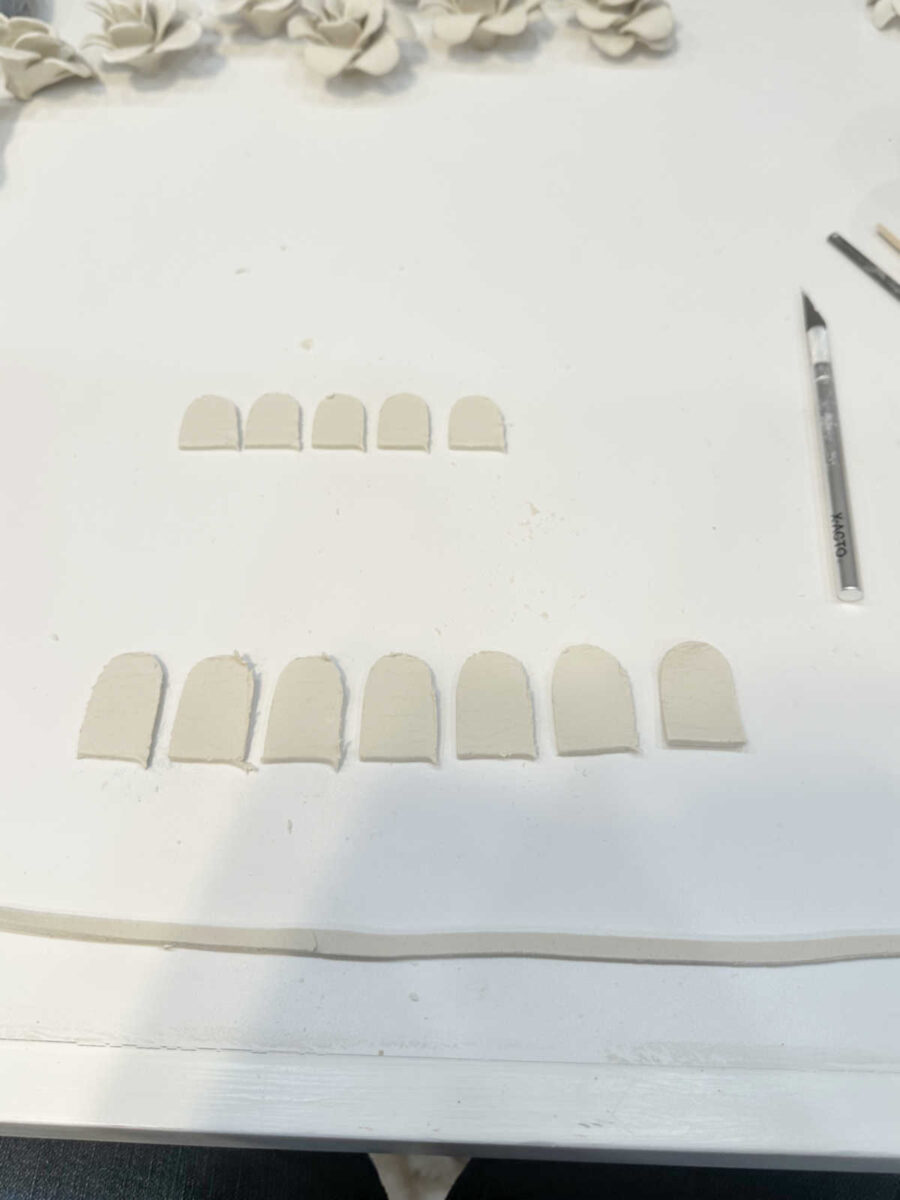
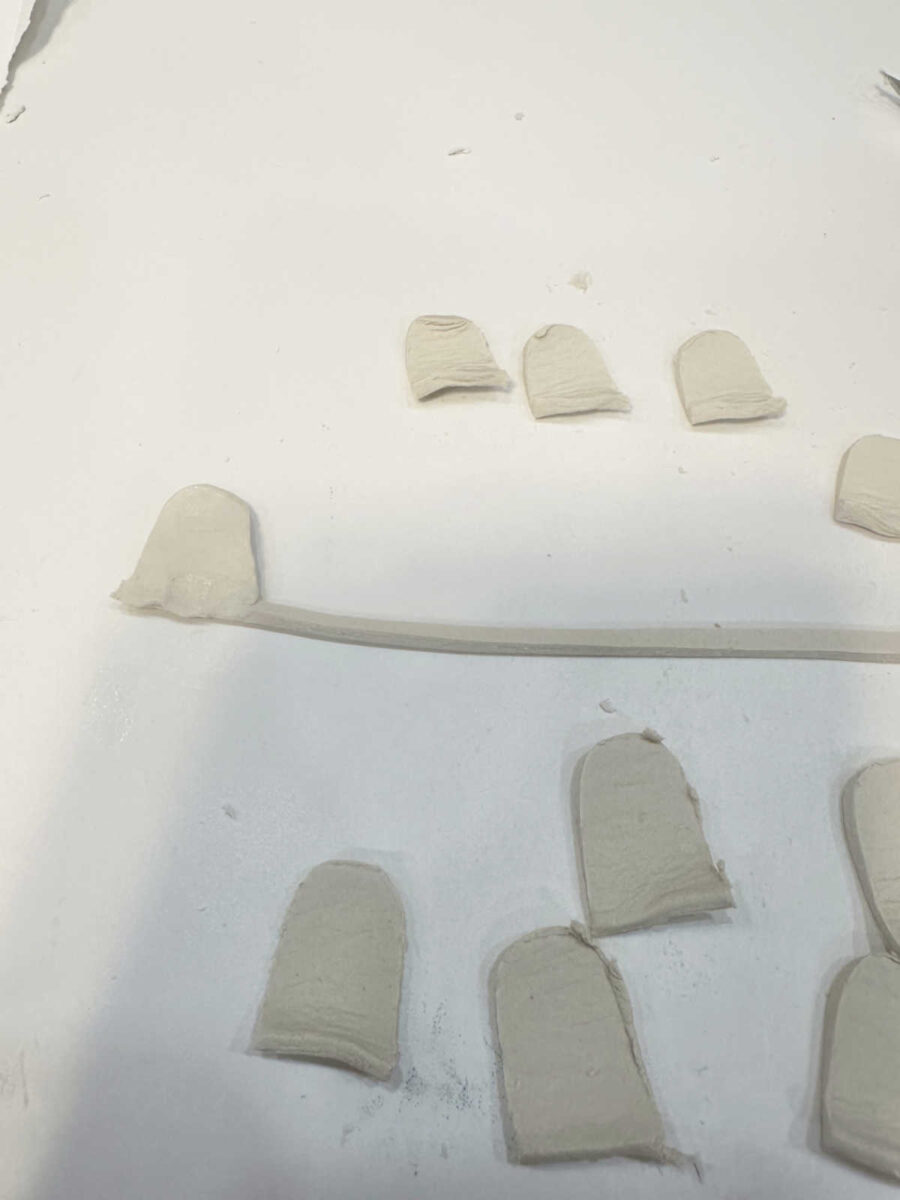
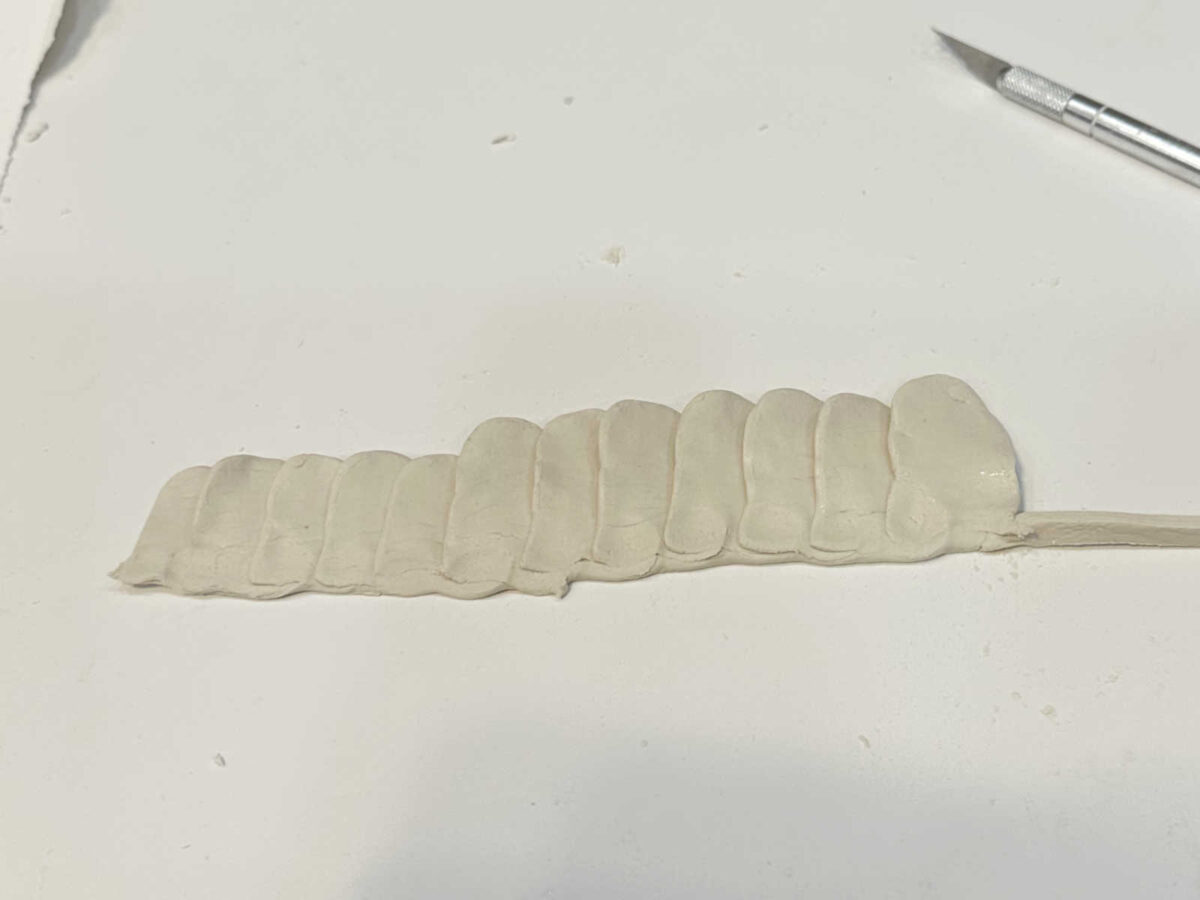
I used those straight cut edges to cut the petals. I had made patterns for my petals out of junk mail. I used two sizes of petals, and cut five of the small ones and seven of the large ones.
So each flower consists of five small petals, seven large petals, and one long strip of clay from the two strips that I had cut and pressed together.
Next, I took each petals and squeezed around the edges to eliminate the cut marks, and then I used my finger, dipped in water, to round them off and smooth them out even more.
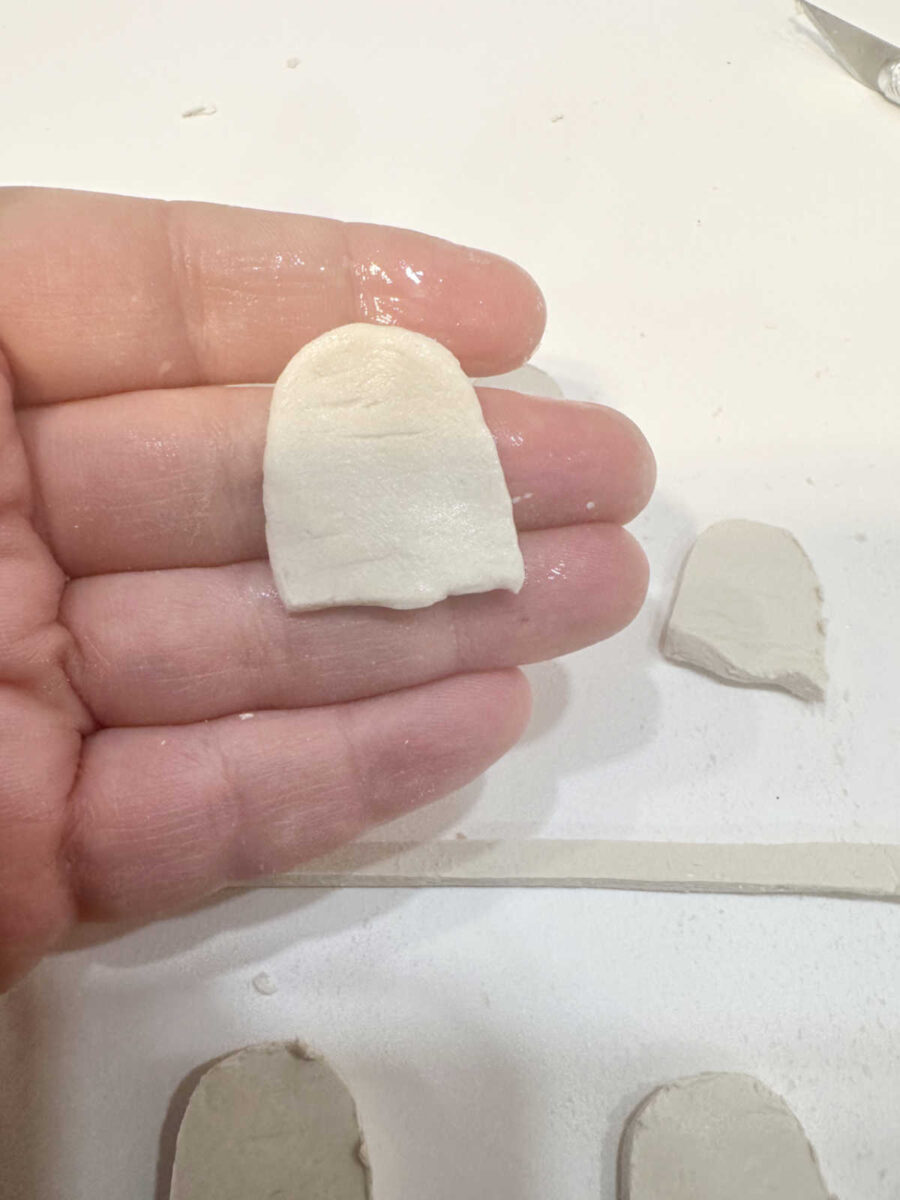
And then I pressed each petal into the strip of clay.
I continued doing that, overlapping the petals by half.
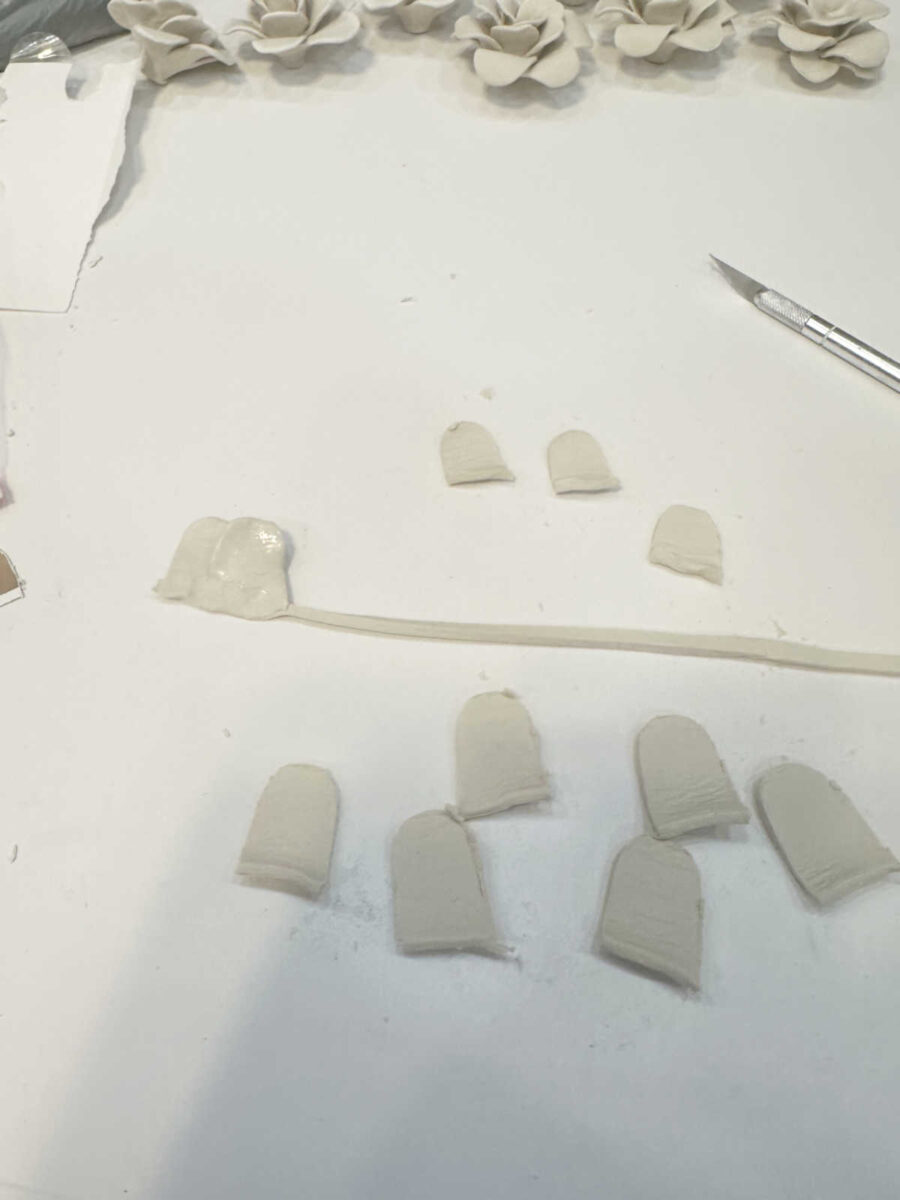
I did all of the small petals first…
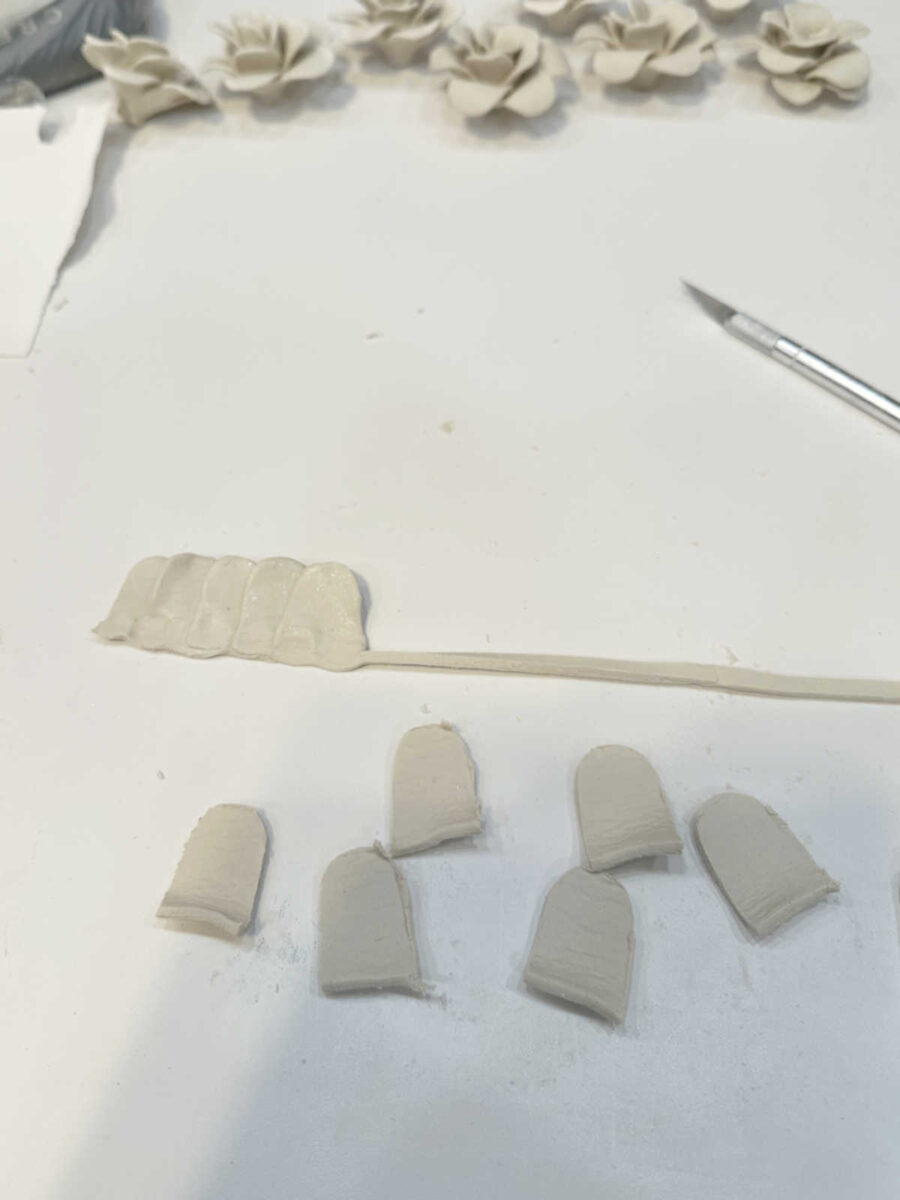
And then did the seven large petals, continuing to overlap them by half.
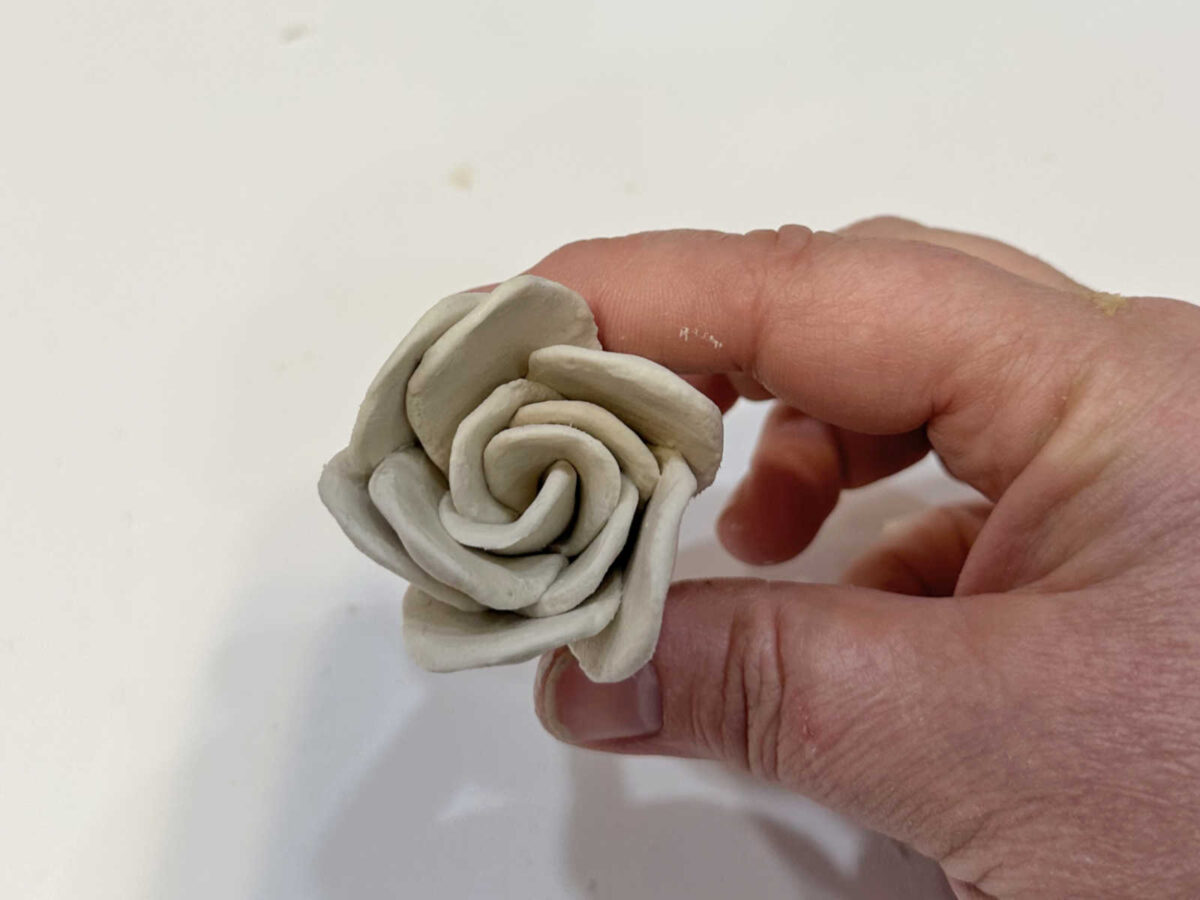
Once all of the petals were pressed onto the strip of clay, I cut away the excess strip, and then rolled up the petals, starting from the left side with the small petals, and continuing to roll them up until I had this…
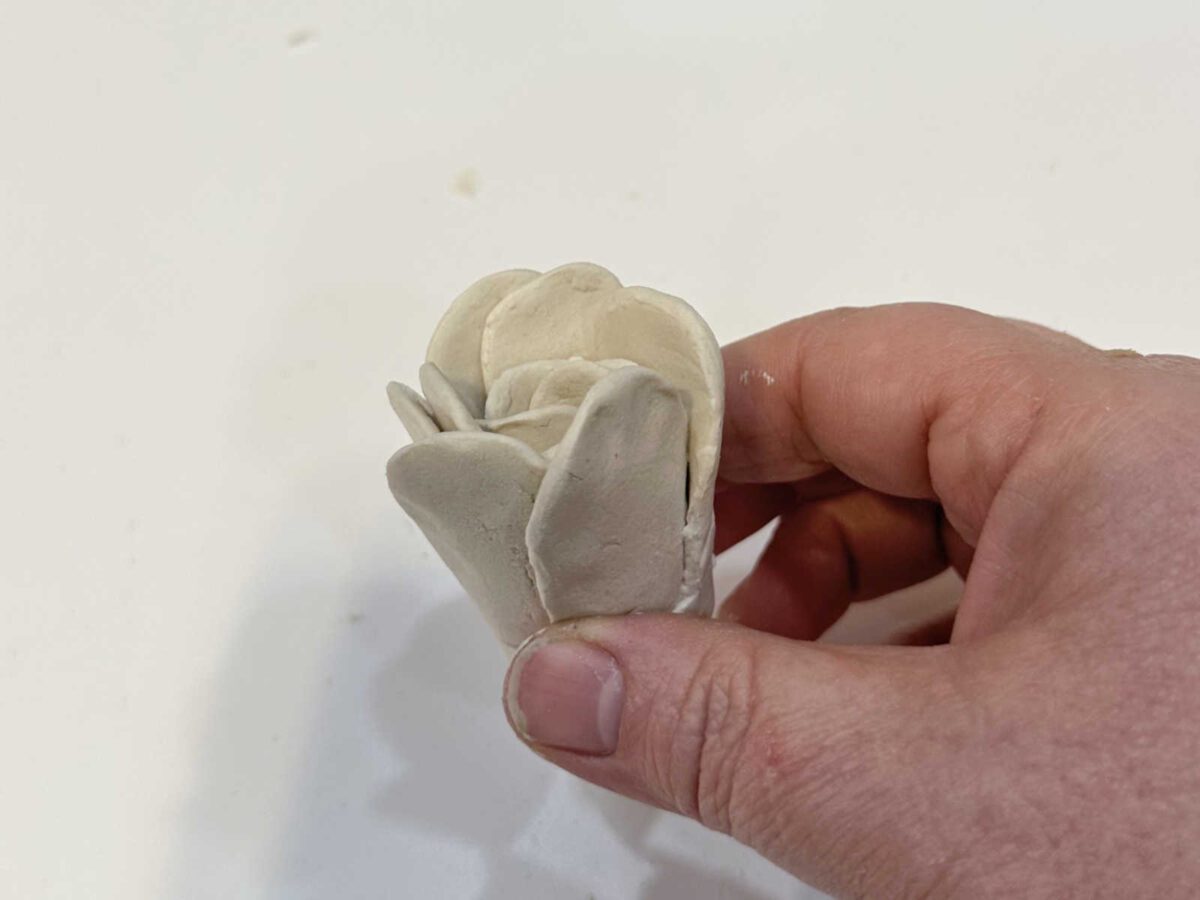
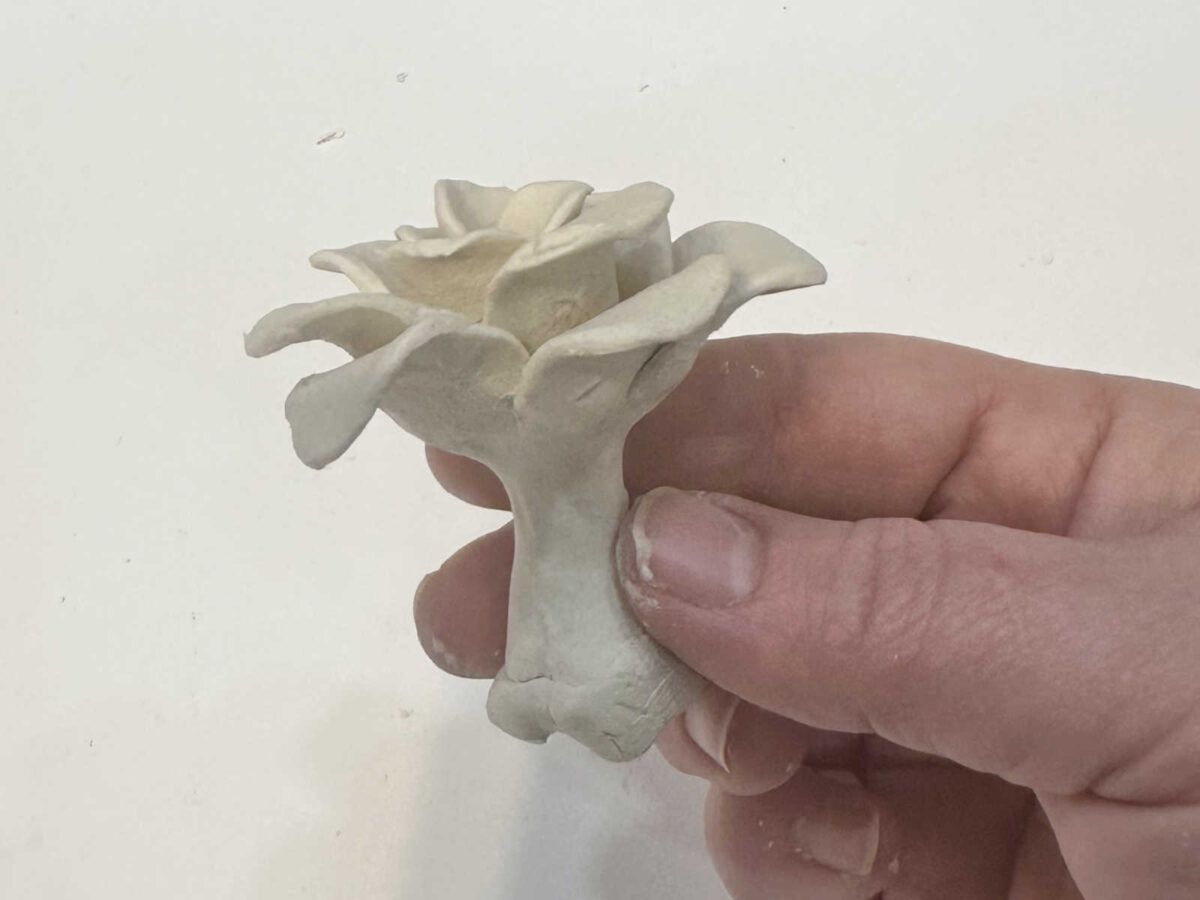
Here’s what it looked like from the top…
And here’s a side view…
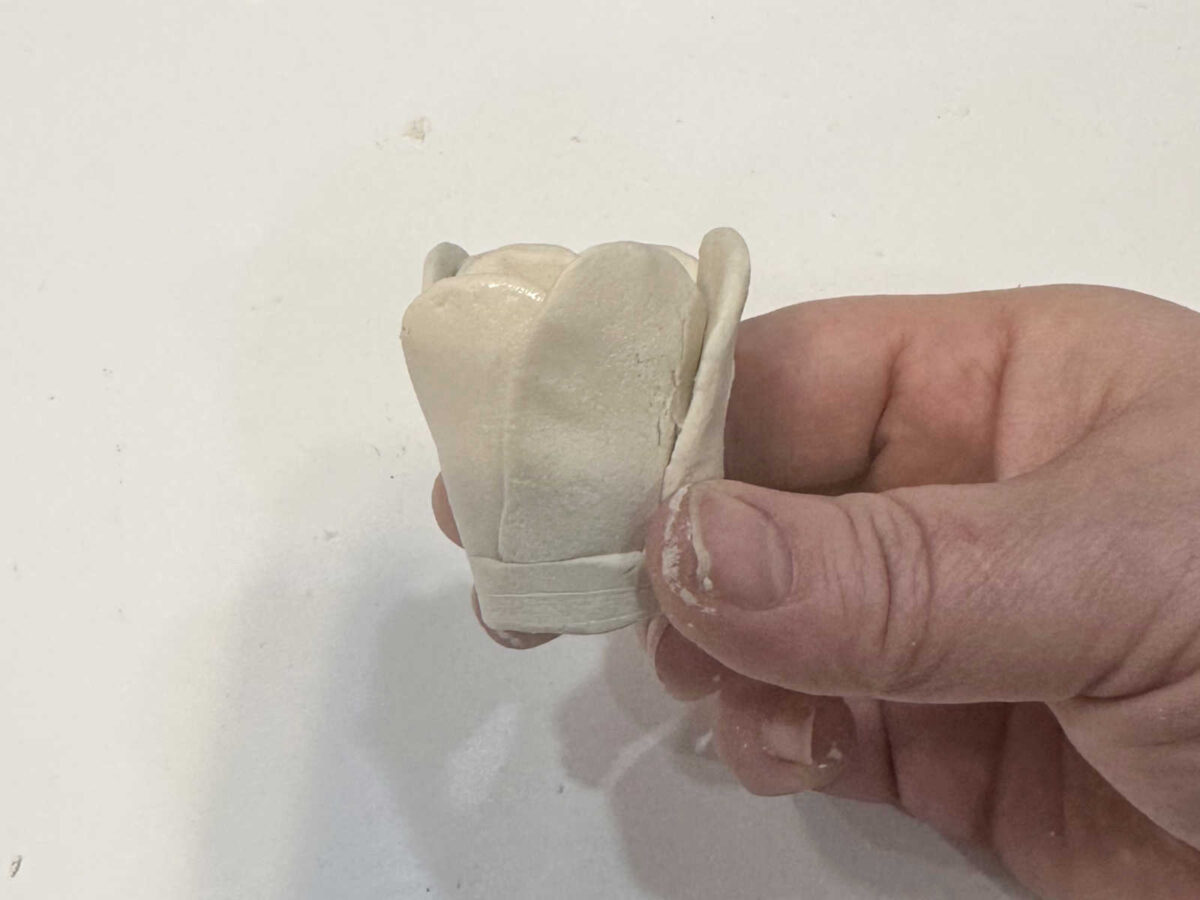
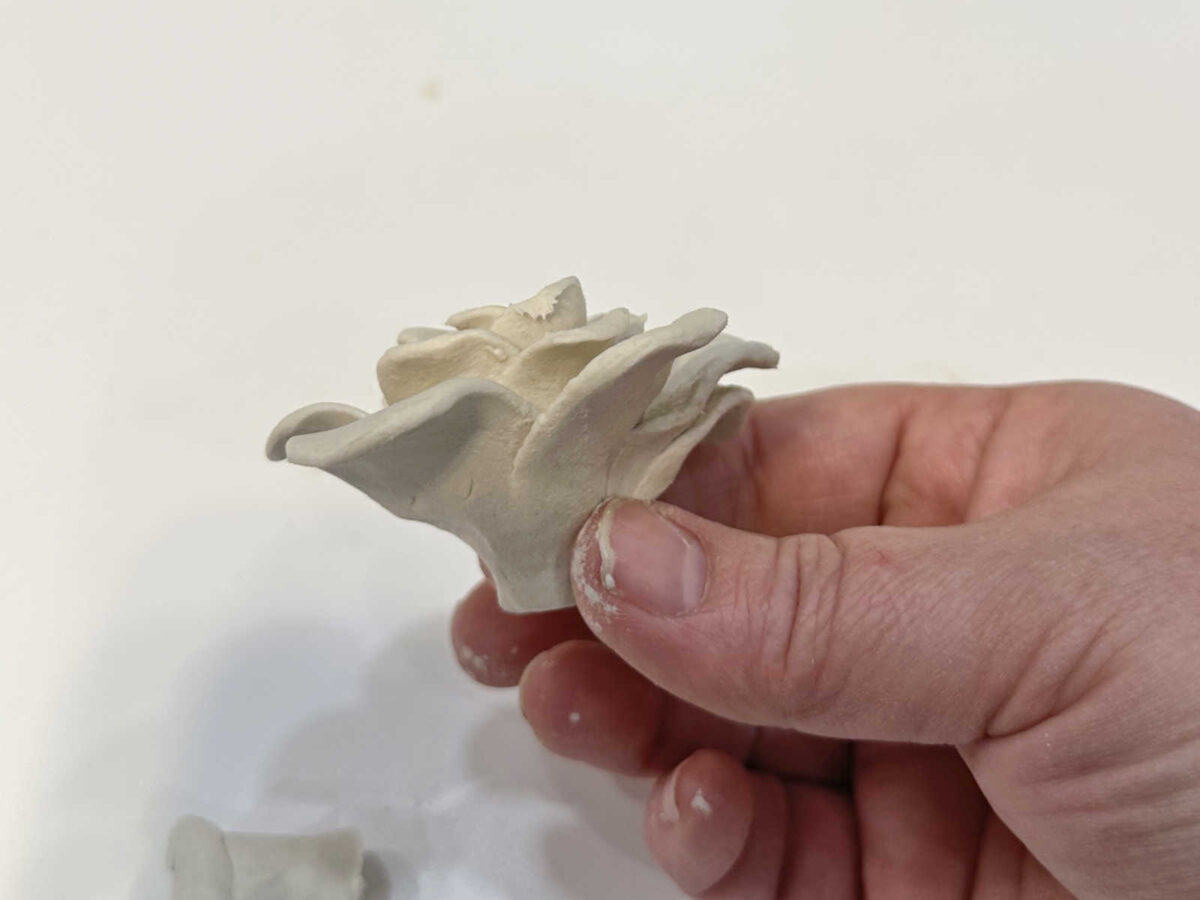
And then I just started squeezing the bottom area together to form more of a flower shape, while also working with the petals to bend them out and give the flower some shape.
Once I had it how I wanted it, I cut off the excess clay at the bottom…
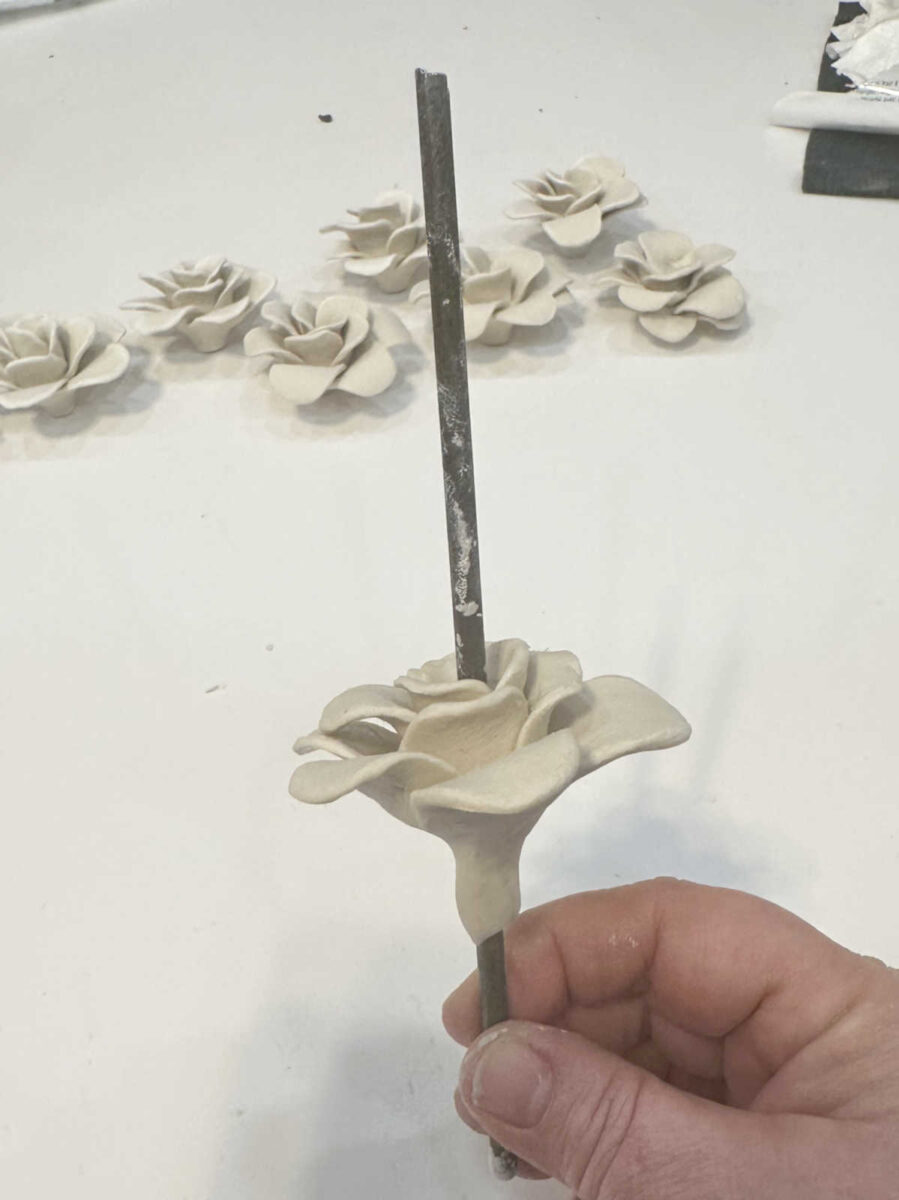
And then I stuck a 3/16″ metal rod through the center of the flower. This is the same size metal rod that I used to form the frame for the chandelier.
And then I trimmed up the bottom of the flower to give it a cleaner look…
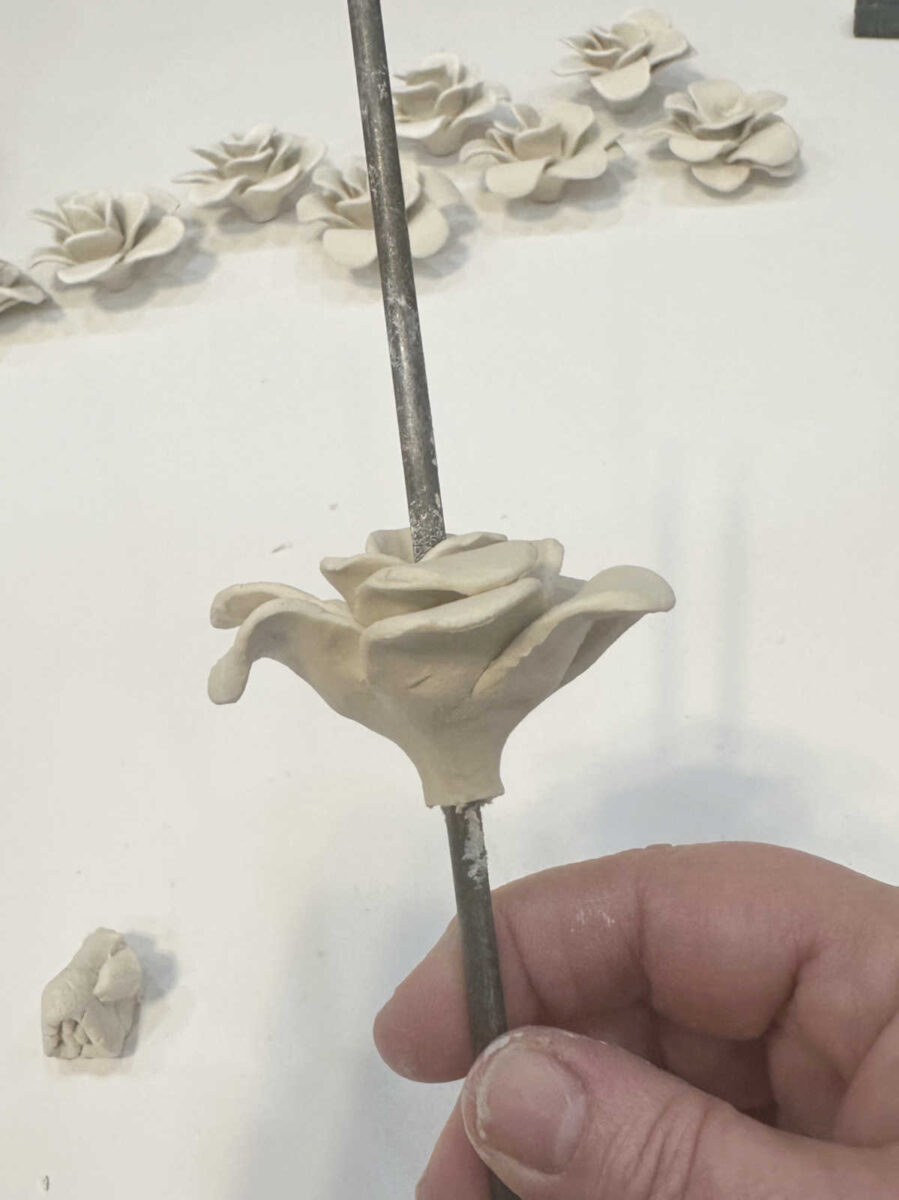
And finally, I dipped my finger into water and used it to smooth out the cut edges.
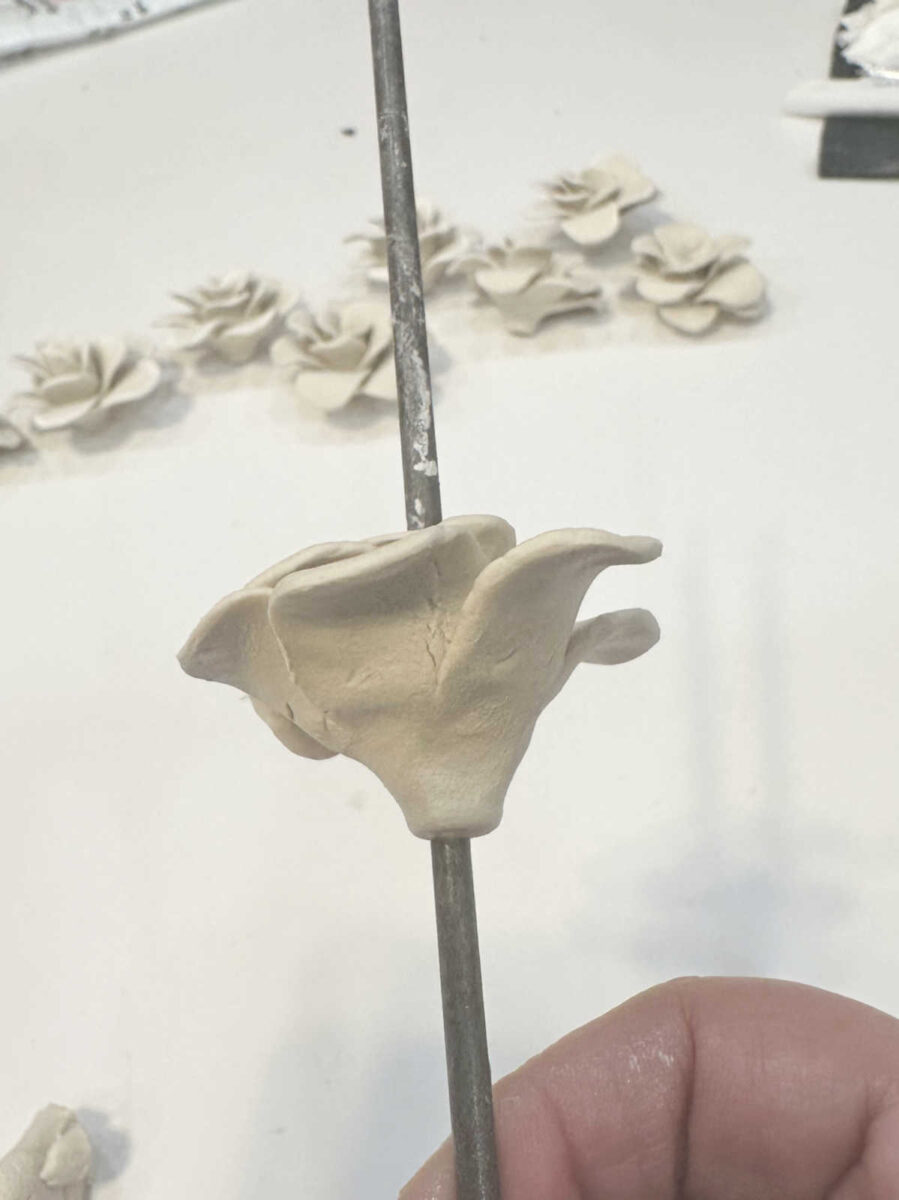
And that’s it! It’s a pretty fun process, and I can tell you that I’d much rather be doing this than building anything right now. I need these fun, creative, easy projects every now and then. And I would say that my confidence level has increased to about 95%. 😀
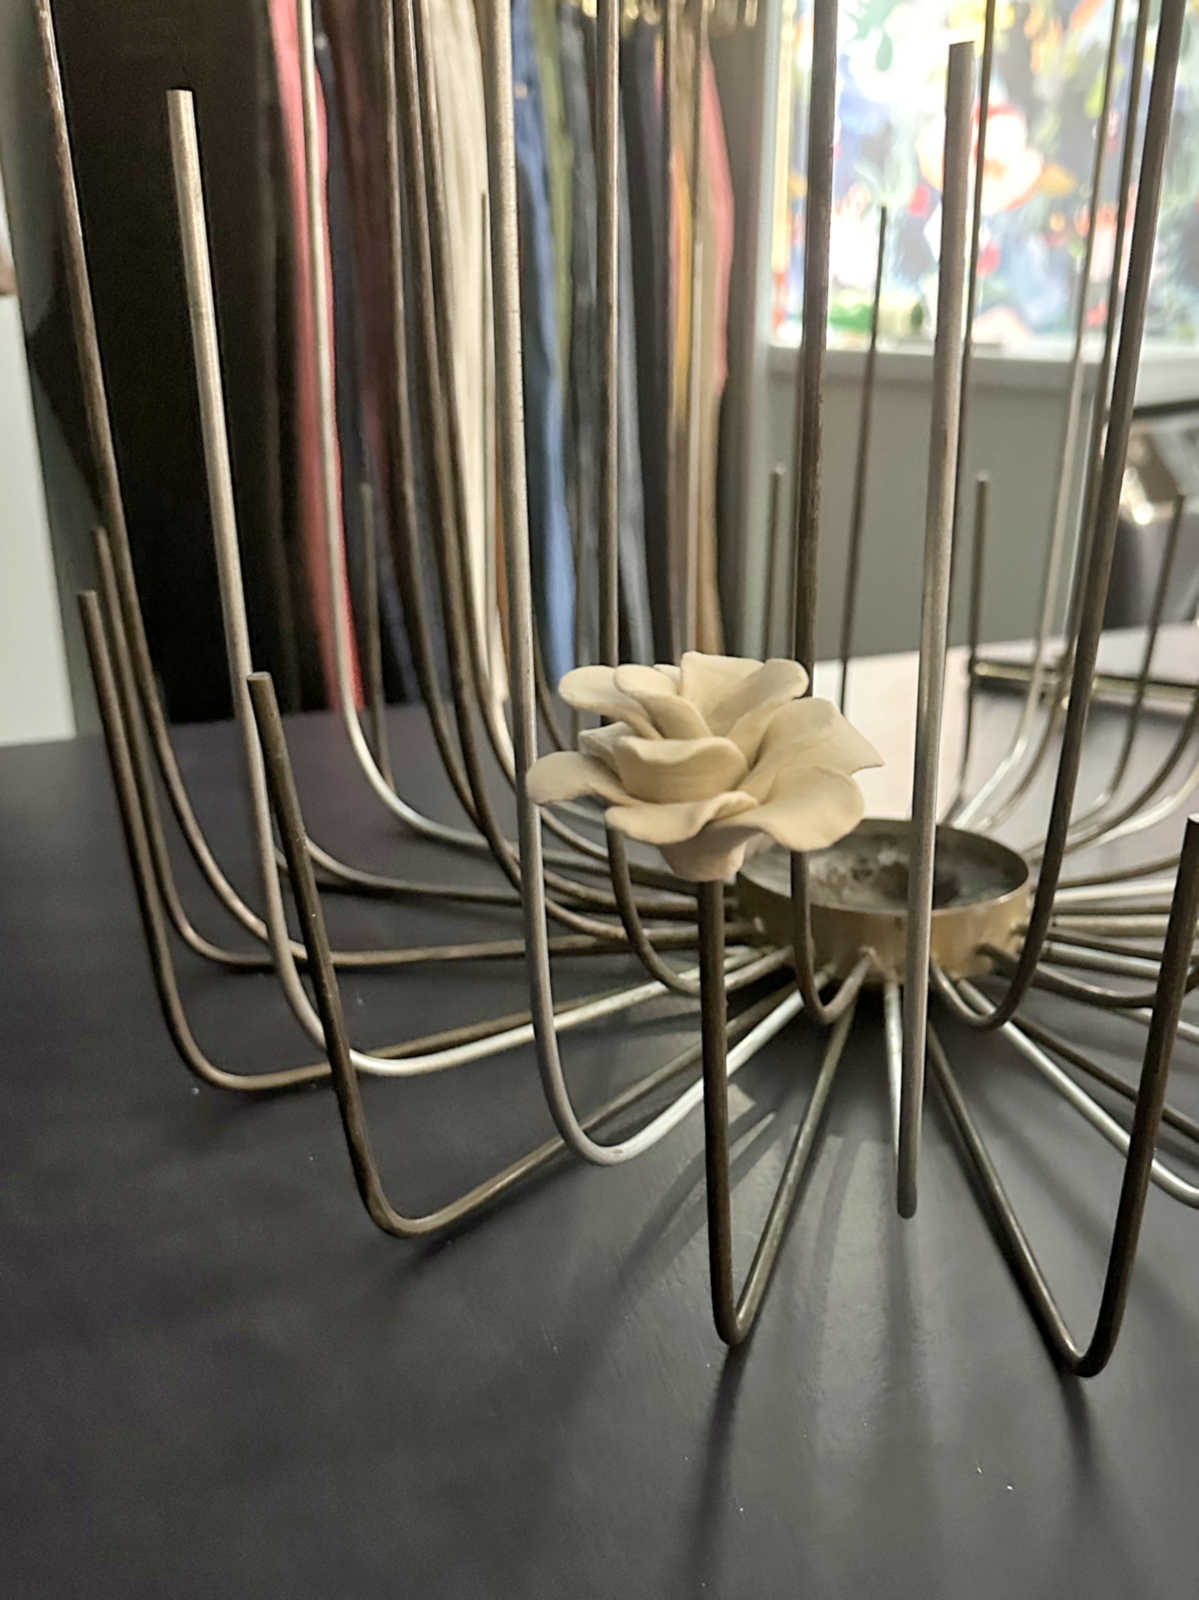
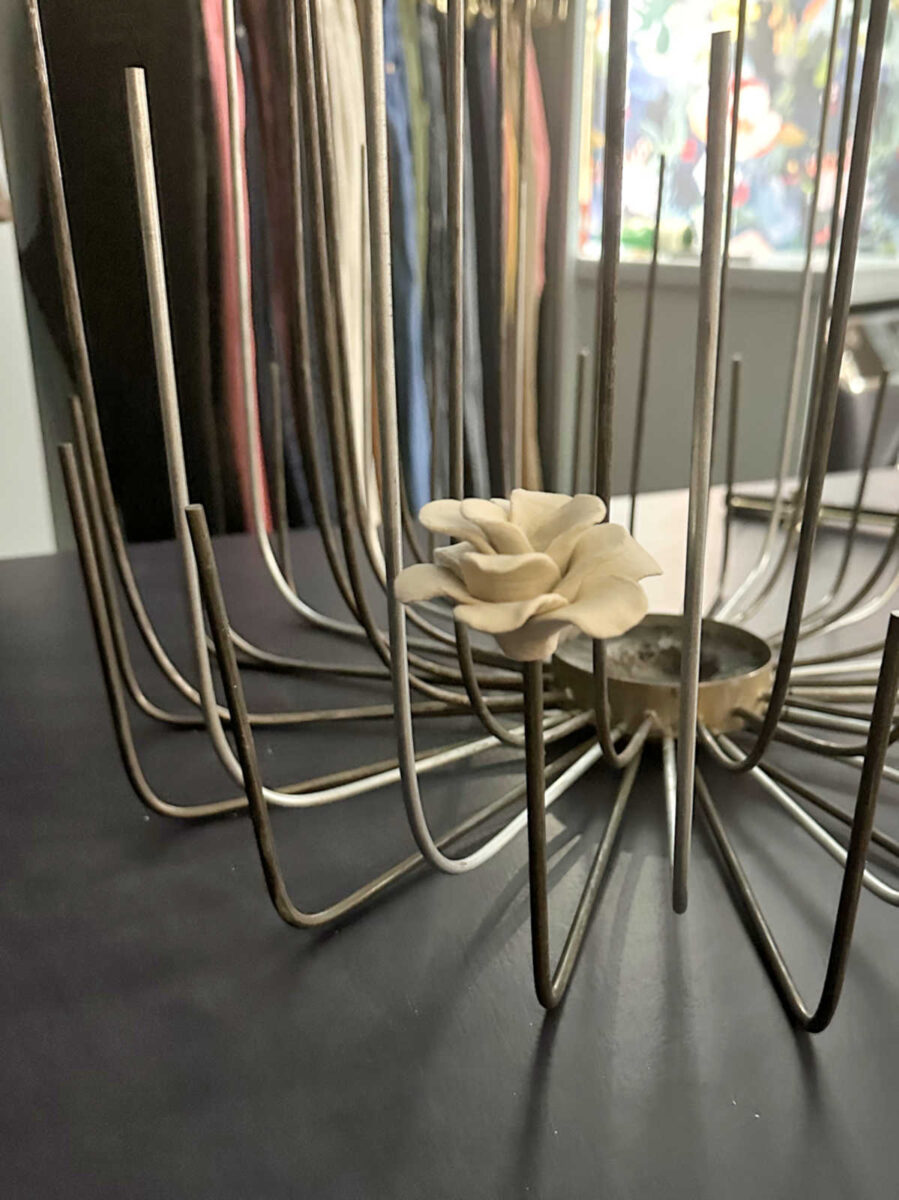
I still need to trim the “stems” on the chandelier frame to the right height, so I didn’t want to attach the flowers yet. But I was curious to see what at least one would look like. So here’s a peek. I love it!

Addicted 2 Decorating is where I share my DIY and decorating journey as I remodel and decorate the 1948 fixer upper that my husband, Matt, and I bought in 2013. Matt has M.S. and is unable to do physical work, so I do the majority of the work on the house by myself. You can learn more about me here.