
I didn’t get much done on the closet chandelier yesterday because I don’t have a lot of time on Wednesdays to work. I was able to get a few more flowers made, but that’s it. I still have 21 flowers to go. And I had planned on working all day today, getting all of the flowers finished, and making my very best effort to have the chandelier done and installed by the time I go to bed tonight.
Then I realized that there’s no way that can happen. The flowers take about 24 hours to fully dry, and then they have to be primed and painted before I can attach them to the chandelier. So there’s really no way I’ll have this light finished before Monday. I guess, in hindsight, I really should have used oven-baked polymer clay. Now that I feel comfortable working with clay, perhaps I’ll go back to Michael’s today and pick up some oven-bake polymer clay and try my hand at that as well.
Anyway, I had some questions about using air-dry clay, and since I’m an expert now (having used it for two whole days and since I’ve made a total 18 flowers with it now), I figured I’m qualified to answer these questions. 😀
First, let me show you all of the flowers I’ve made so far. Here’s all 18 of them…
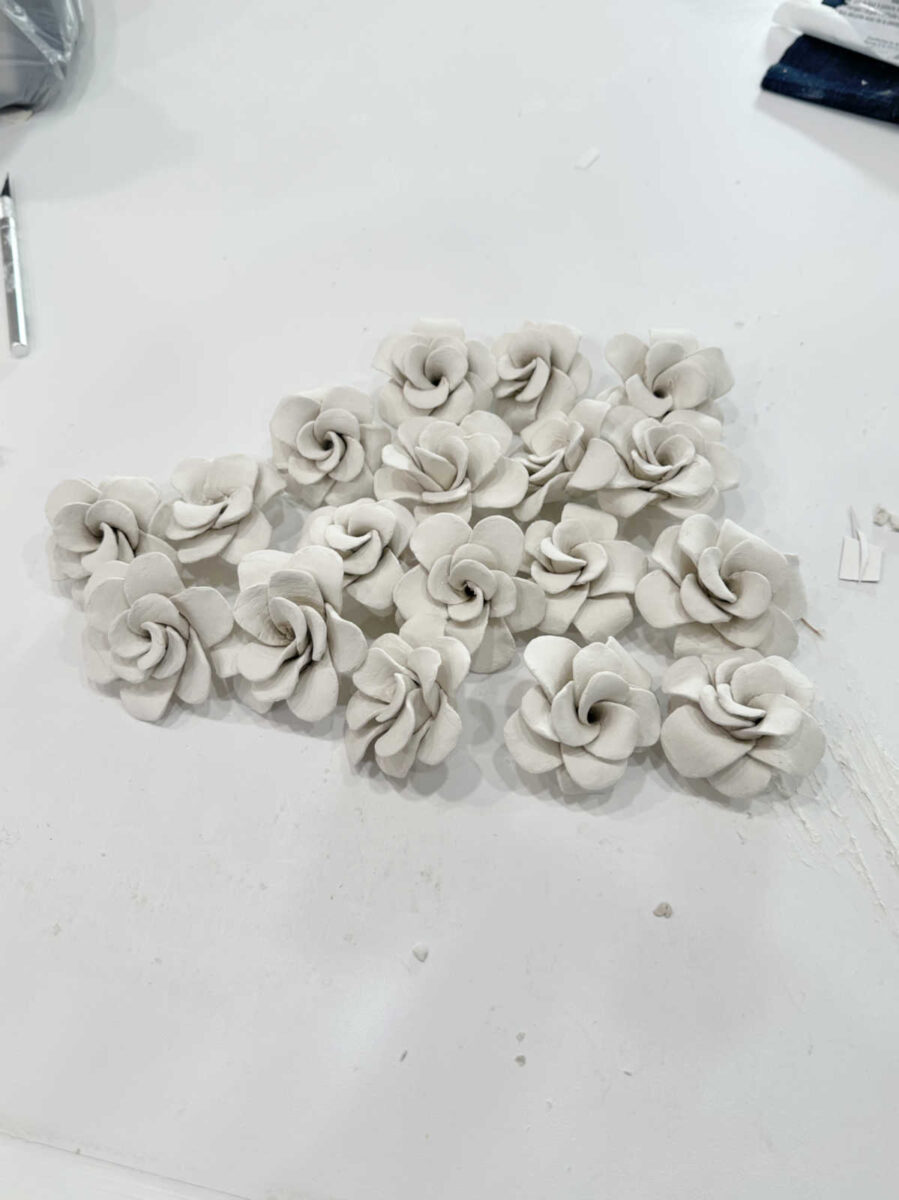
I definitely found my groove with making these flowers as I went along. The first ones I made look a little different than the ones I made yesterday because I kept working with my technique a little more until I found just the right method that I was really pleased with. I mean, I used the same method that I shared yesterday, but I began to roll the clay strip in such a way that the center petals stuck up a bit higher, and then I curved the outer petals down more so that the whole flower has more dimension and height to it.
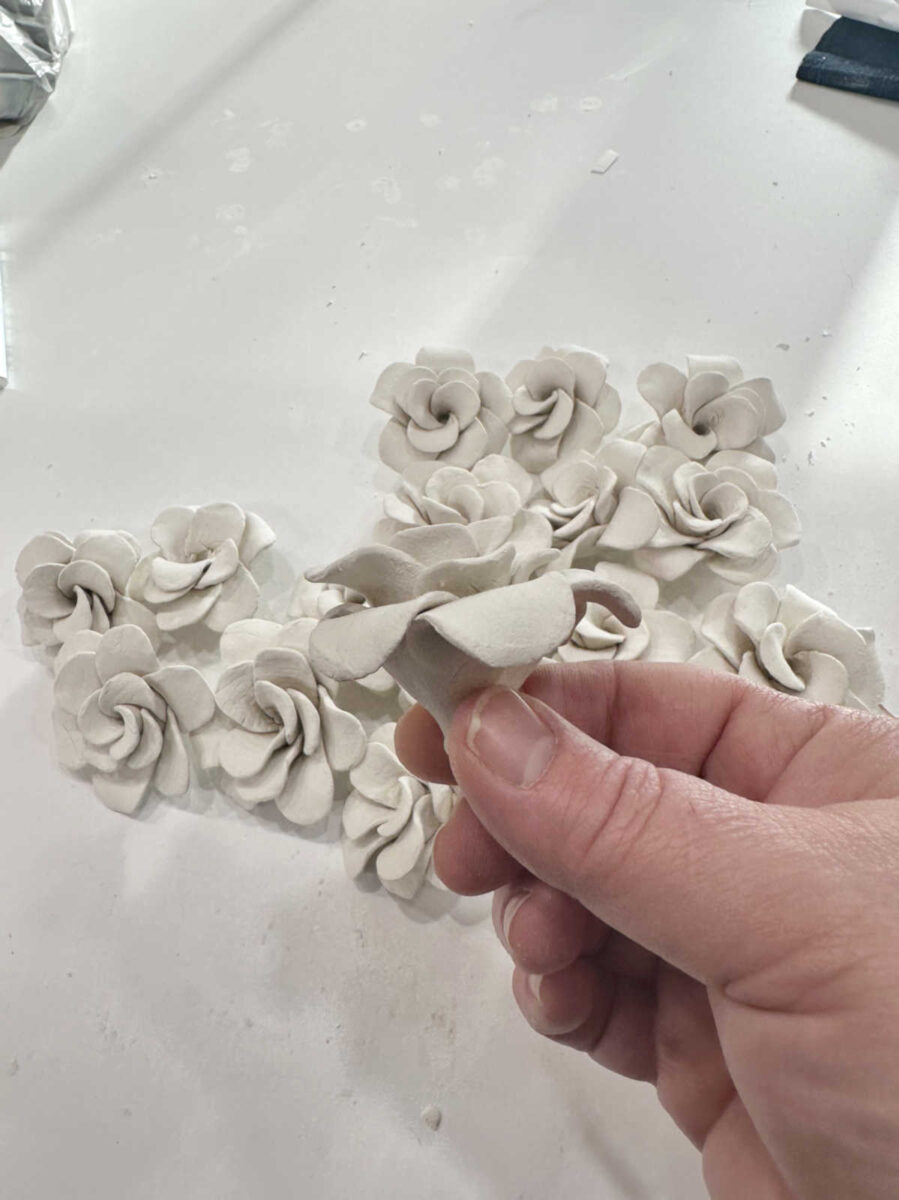
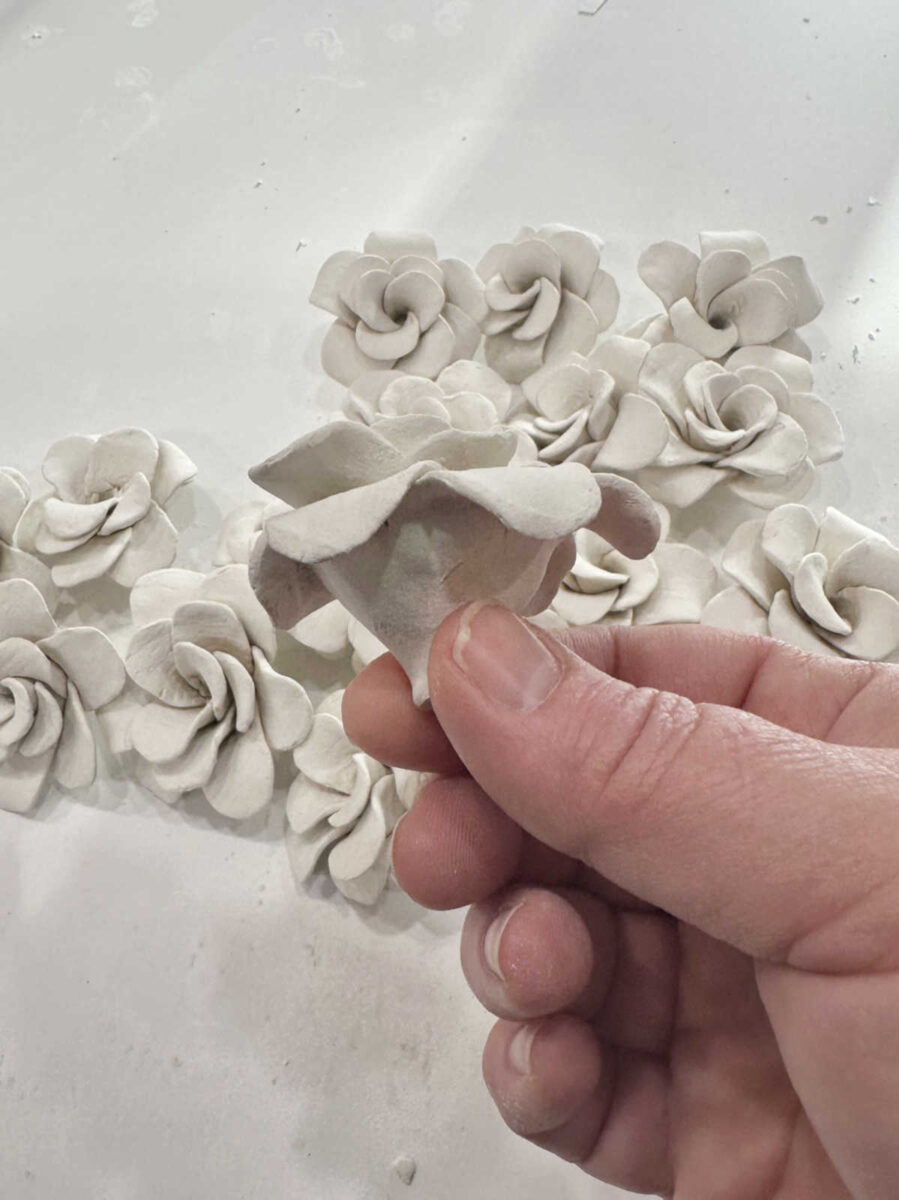
A few people had expressed concern that the flowers looked nice from the top, but once they are attached to the “stems” of the chandelier, the pretty part will be hidden from sight. But the flowers really won’t be seen from underneath. There will be an island underneath the chandelier, so I’ll never be standing directly under the chandelier. And since this is a chandelier and not a flush-mount or semi-flush-mount light, the bottom of the chandelier will be about 60 inches from the floor. That means that the flowers will mostly be seen from the side rather than from the bottom. And from the side (like when someone is standing in the doorway to the room) or seen at an upward angle (like when I’m standing at the island), I think it’ll still be obvious that these are flowers.
Here’s what I’ve learned about this particular air-dry clay (Creative Paperclay) that I used for these flowers:
Air-dry clay can be sanded once it’s dry.
I used some 220-grit sandpaper to smooth out some edges and some areas that looked wrinkled on the petals. The air dry clay sanded very easily and smoothly. I was actually quite impressed with how smooth it looked after sanded. I don’t really plan on sanding all of my flowers because I actually like the somewhat messy, handcrafted, papier-mâché look that the air dry clay has without sanding it. I don’t want it to look like porcelain. But there are a few areas here and there that I’d like to smooth out a bit.
Air-dry clay is not brittle once it’s dry, but it’s also not durable like ceramic or porcelain.
A couple of people asked if the air-dry clay is brittle once it’s dry. Of course, the durability will depend on how thick the material is. If you’re making something like a bowl, it will be more durable because it’s much thicker than the flower petals I’m making. But even on these flower petals, I still wouldn’t call it brittle. It’s also not durable like a kiln-fired ceramic or porcelain, though. On the sliding scale between brittle, like a dried leaf, and durable, like a kiln-fired ceramic piece, I would place the air-dry clay right in the middle, especially on the thin flower petals that I’m making.
That means that I won’t be assembling the whole chandelier, flowers and all, before hanging the light. I would certainly break a few flowers in that process of trying to install the chandelier. I plan to paint the chandelier, hang the chandelier, and then attach the flowers after the chandelier is installed. That way, there’s very little chance that any of the flowers will get broken.
Air-dry clay can be painted.
I haven’t gotten to the painting part of this project yet, but air-dry clay can definitely be painted. I’ve watched several videos of people using air-dry clay for various projects, and I’ve seen it painted with both acrylics and watercolors. I plan to prime mine with a spray primer (shellac-based primer) and then spray paint them with the same spray paint that I’ll be using on the rest of the chandelier.
According to what I’ve read and seen in videos, the paint can also add to the durability of the air-dry clay, depending on the type of paint you use. I wouldn’t imagine that using watercolors would add to the durability, but I can definitely see how primer (especially a brush-on primer) and acrylic/latex paints would add to the durability.
I’ve even seen that you can use resin to coat the air-dry clay, and that would certainly make it much more durable once it has cured. I actually just bought some new ArtResin for a different project, so I might give that a try on these flowers. ArtResin is pretty easy to use, and it can be brushed on as long as you mix up tiny batches at a time and don’t let it sit for too long before using it. So I’ll be testing that out on a flower or two and see if that will work to strengthen the flowers and make them more durable.
But like I said above, if you’re really concerned about the durability, and you don’t happen to have a kiln on hand, and you don’t want to use paints or resins to add to the durability, oven-baked polymer clay might be the better option. You just have to keep in mind that oven-baked polymer clay, once it’s dry and cured, has some flexibility to it. So depending on the project, that might be something you’d need to consider.
Anyway, I’m still learning, but I have absolutely loved working with this particular air-dry clay. It’s very fun to work with, it’s easy to mold and sculpt, and my mind is now spinning with all kinds of ideas for projects that I can use air-dry clay on now. I can’t believe it took me this long to purchase some and try it out, but I’m so glad that I had this opportunity to give it a try. And of course, since I love making jewelry so much, I have all kinds of ideas of different jewelry, beads, etc., that I could make using this clay. It’s a whole new world of creativity that has opened up for me.

Addicted 2 Decorating is where I share my DIY and decorating journey as I remodel and decorate the 1948 fixer upper that my husband, Matt, and I bought in 2013. Matt has M.S. and is unable to do physical work, so I do the majority of the work on the house by myself. You can learn more about me here.